
About Users
Throughout This Page
You can jump to the specified sections by clicking on these titles.
Overview
This document serves as your guide to navigating the users page and provides step-by-step instructions for both inviting new users and editing existing ones.
Navigating to the Users Page
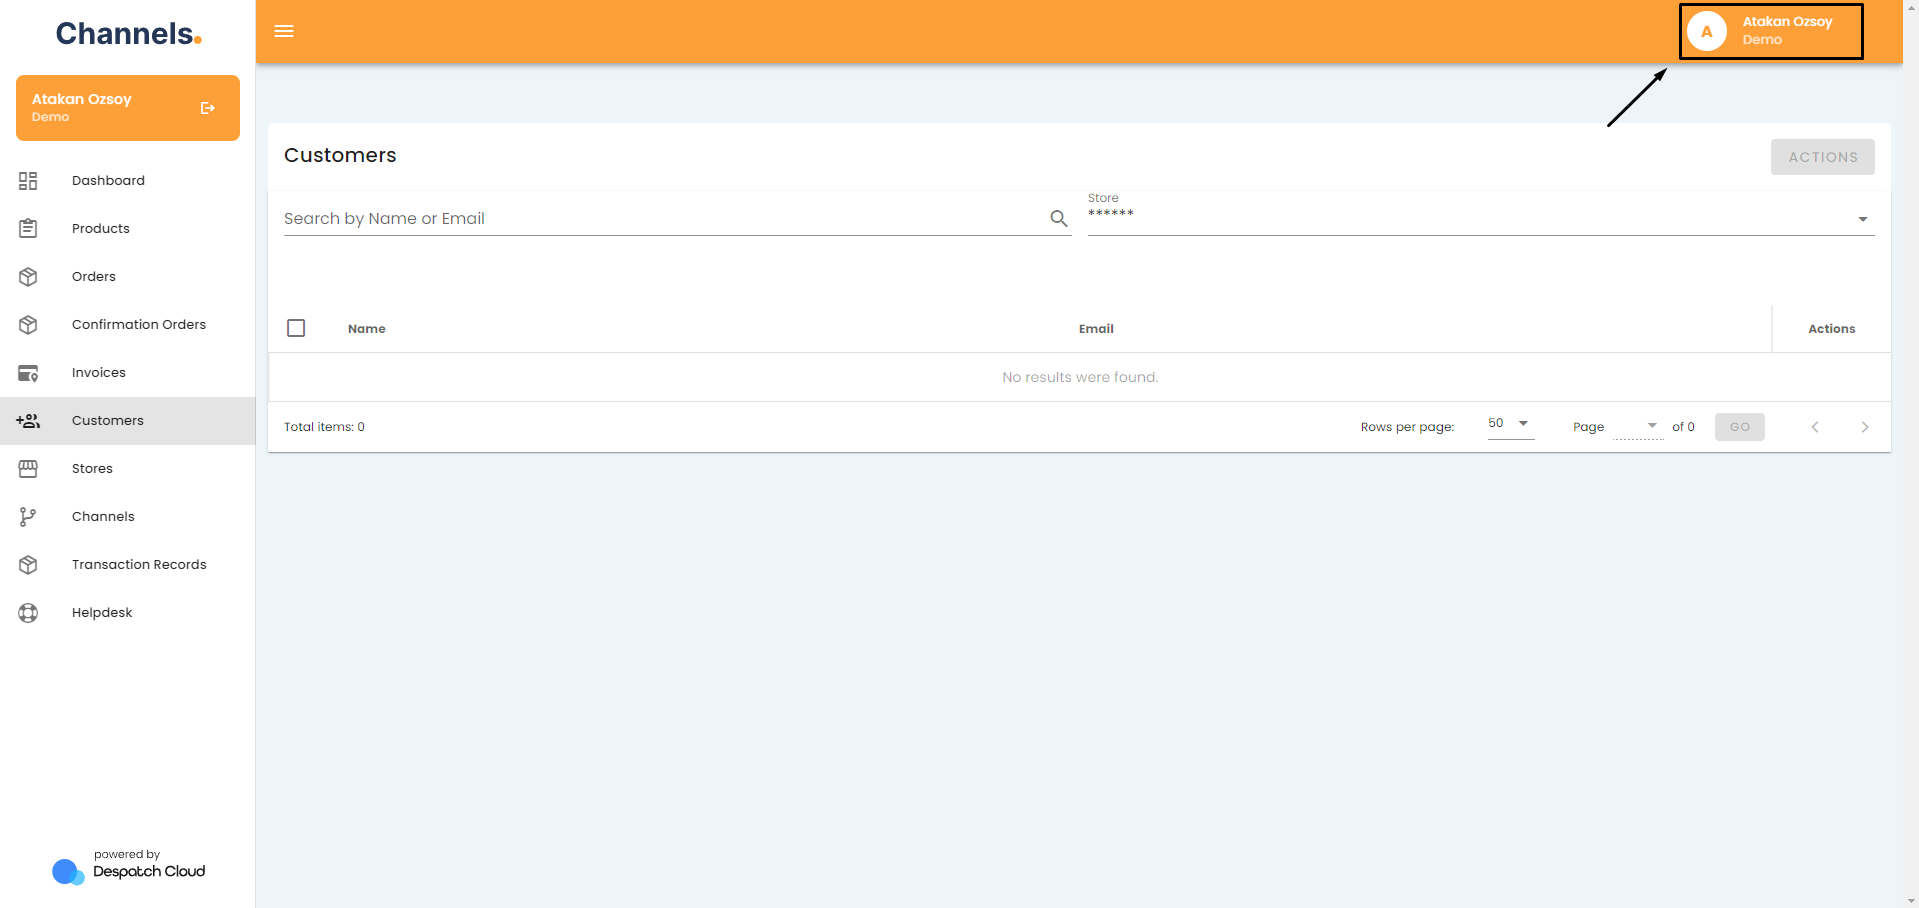
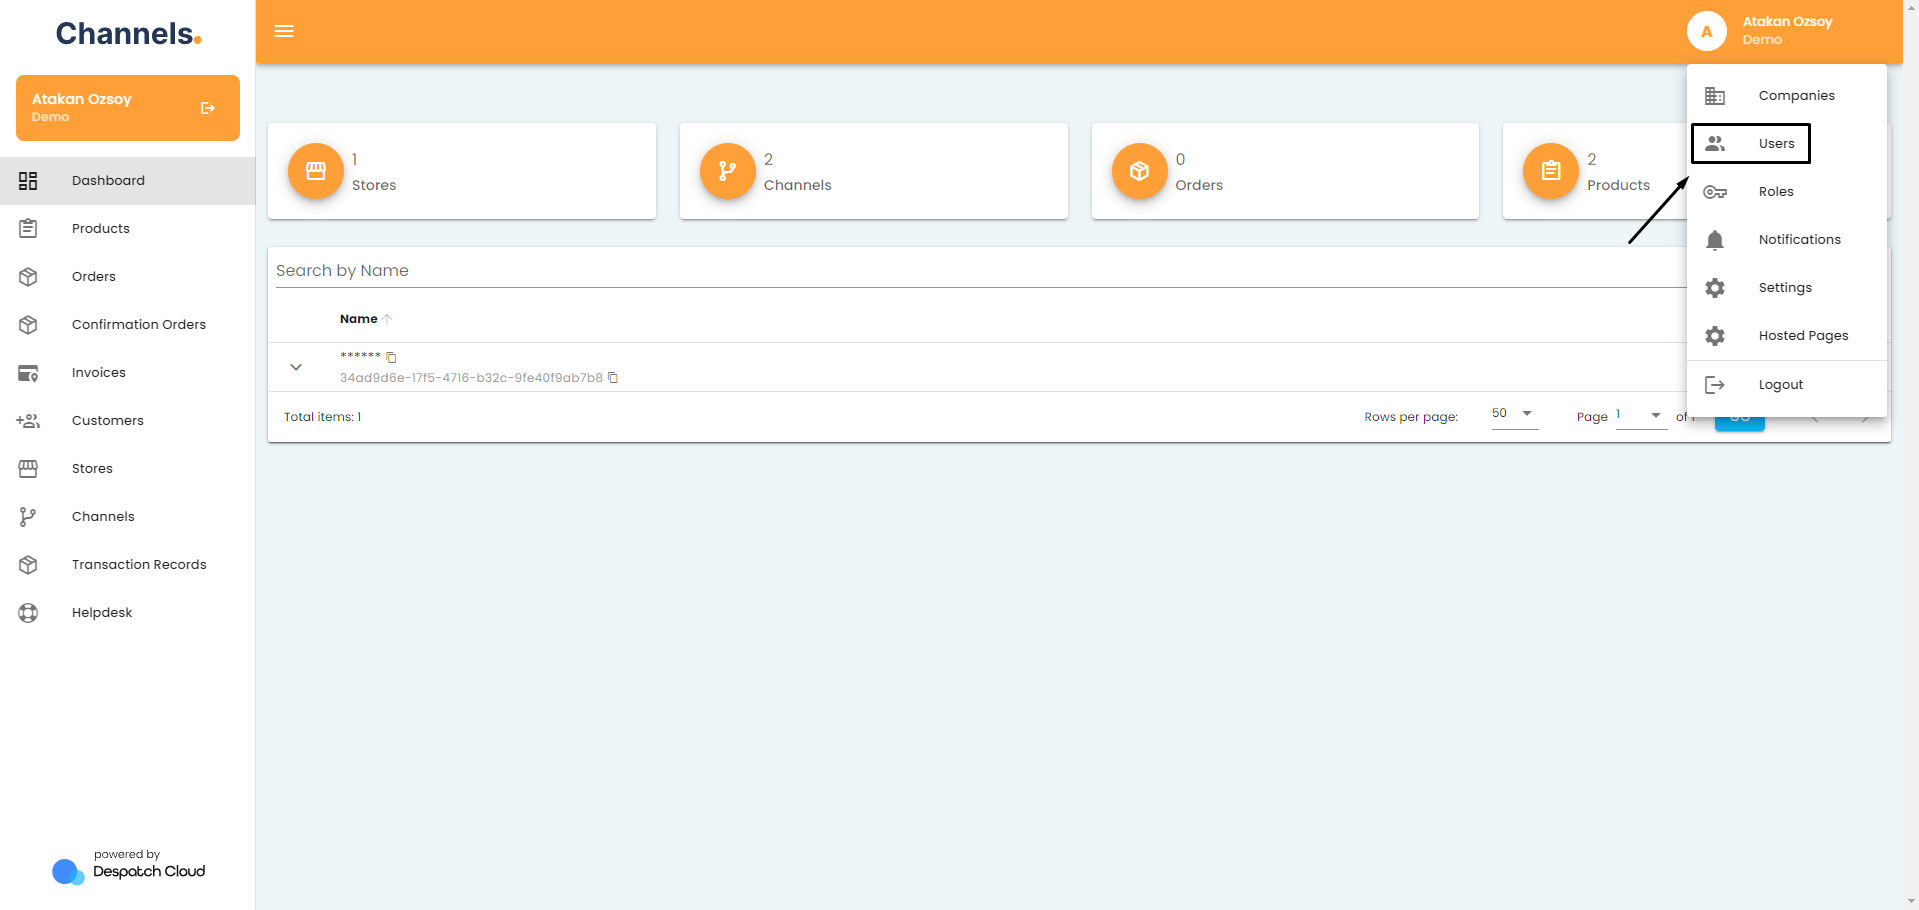
To access the users page, begin by selecting your username, located in the upper right corner.
Then, from the ensuing menu, choose "Users."
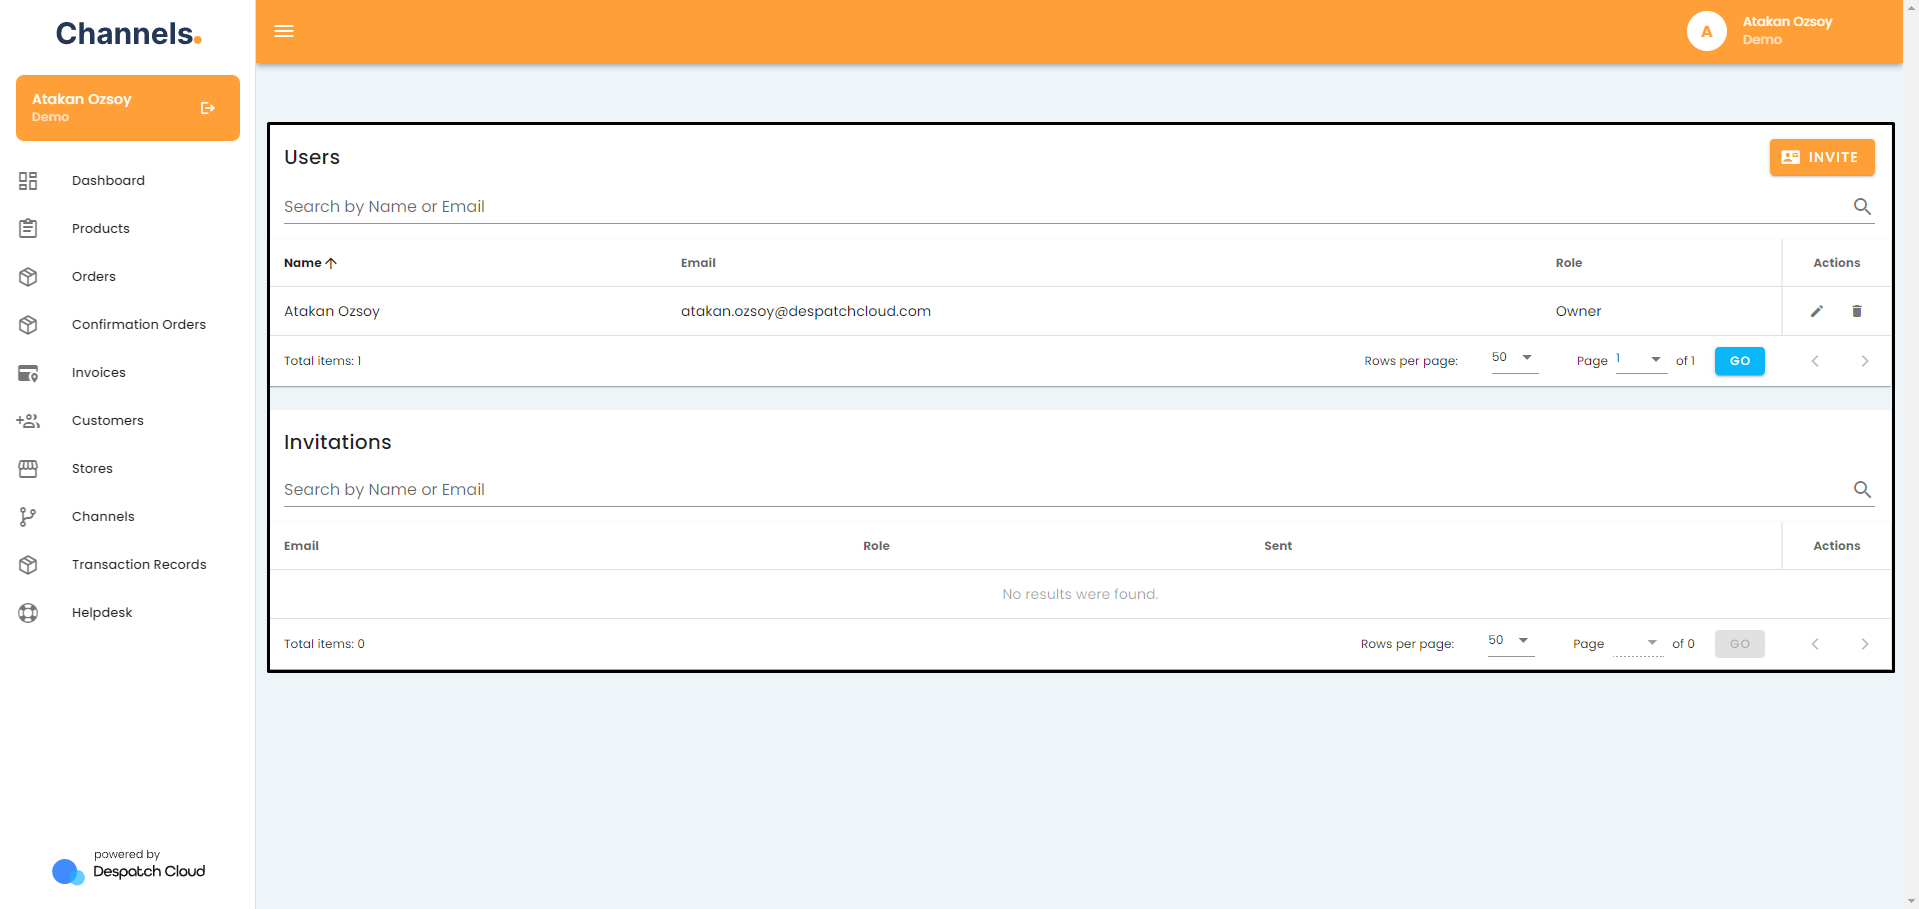
Once you've been directed to the "Users" page, you will find a list of all users in your account and will be able to manage them or invite new users.
Inviting a New User
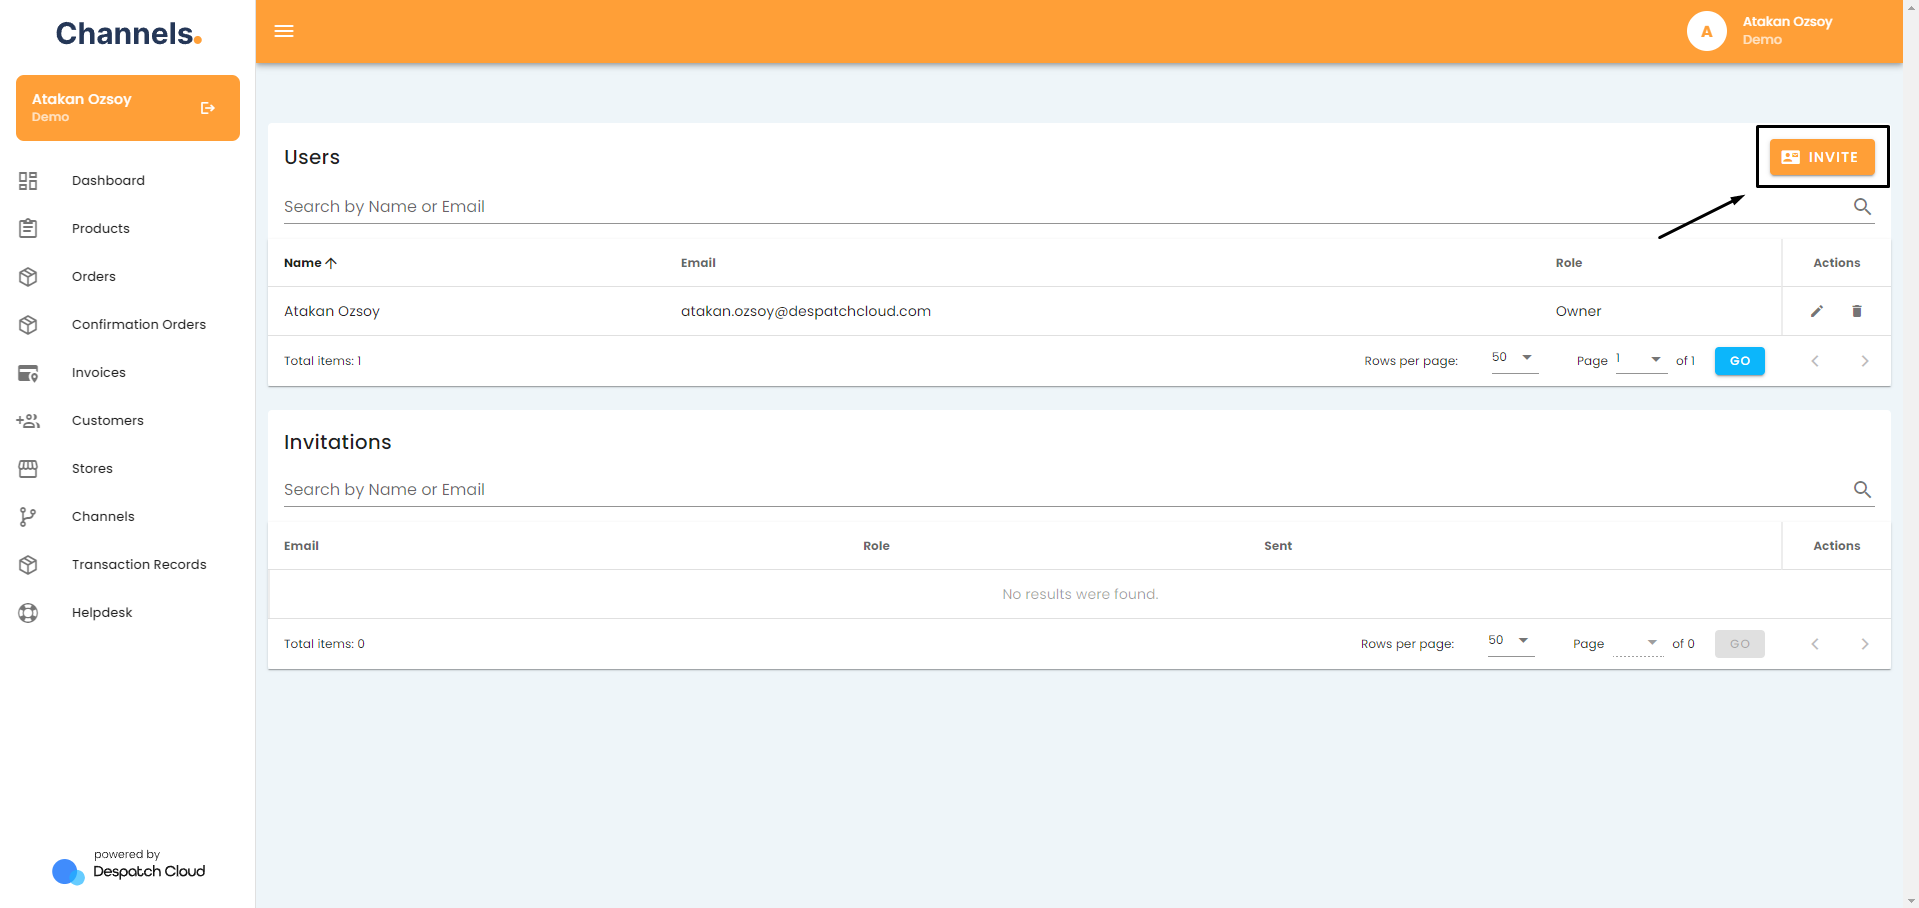
To invite a new user to your platform, begin by clicking the "Invite" button located in the top right corner of the users page.
This action will redirect you to a new page where you can initiate the invitation process.
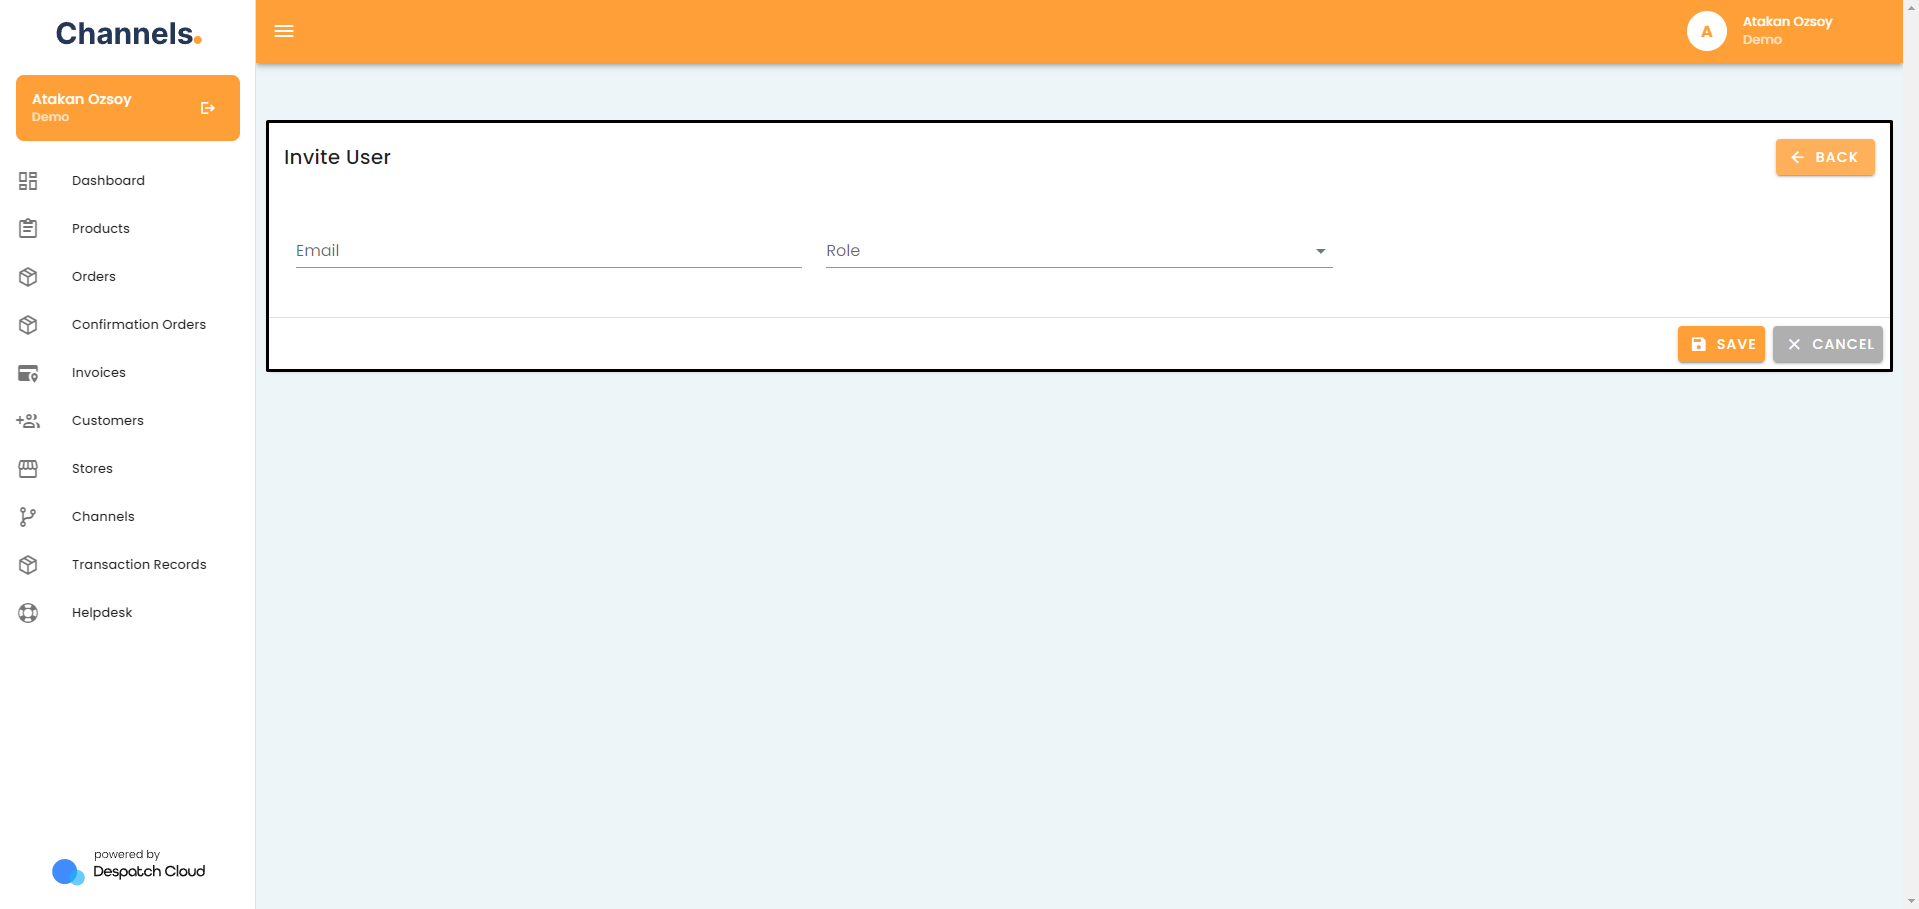
On this invitation page, you'll be prompted to enter the email address of the user you wish to invite. Additionally, you'll find a dropdown menu right next to the email field, allowing you to assign a specific role to the user. It's important to note that roles determine the permissions granted to the user. Once you've entered the required information, click the "Save" button to confirm the invitation.
Please visit our dedicated Roles page for detailed information on how to establish and modify user roles.
Upon saving the invitation, you will be taken back to the users page. Here, you'll notice the newly invited user listed in the "Invitations" section.
In the "Actions" field next to the invitation entry, you'll find two buttons. The first button enables you to resend the invitation email if necessary, while the second button, represented by a trash bin icon, allows you to delete the invitation. This action prevents the user from joining your platform.
Following this, an email will be dispatched to the invited user. Inside this email, they should locate and click the "Accept the invitation" button. Clicking this button will redirect the user to your platform, where they will be prompted to set a name and password for their account. It's worth noting that the email field will be filled with the address they were initially invited with.
Editing a New User
To edit a user, you can start by navigating to the users page and locating the specific user you want to modify. Once you've found the user, click on the pen icon located on the right side of their user entry under the "Actions" tab. This action will take you to the user details.
Within the "Edit User" section, you'll be able to make changes to the user's name, email, and role according to your requirements. Please remember to click the "Save" button if you make any changes.
The "Activities" section provides a summary of all actions conducted by this user's account. For a more detailed view of their activities, you can click the "All Activities" button.
The "Authentication Transaction Records" section displays a record of both successful and unsuccessful login attempts made by this user. It includes details such as the date and the associated IP address.
Lastly, the "Page Views" section presents a chronological record of the dates and the specific pages visited by this user during their interactions with the platform.