About Hosted Pages
Overview
The elements on this page encompass functionalities typically attainable through API calls. Nevertheless, we've developed this graphical interface tool to expedite your development efforts. This page serves as a comprehensive guide, delineating each element and elucidating the step-by-step potential it offers.
Accessing the Hosted Pages
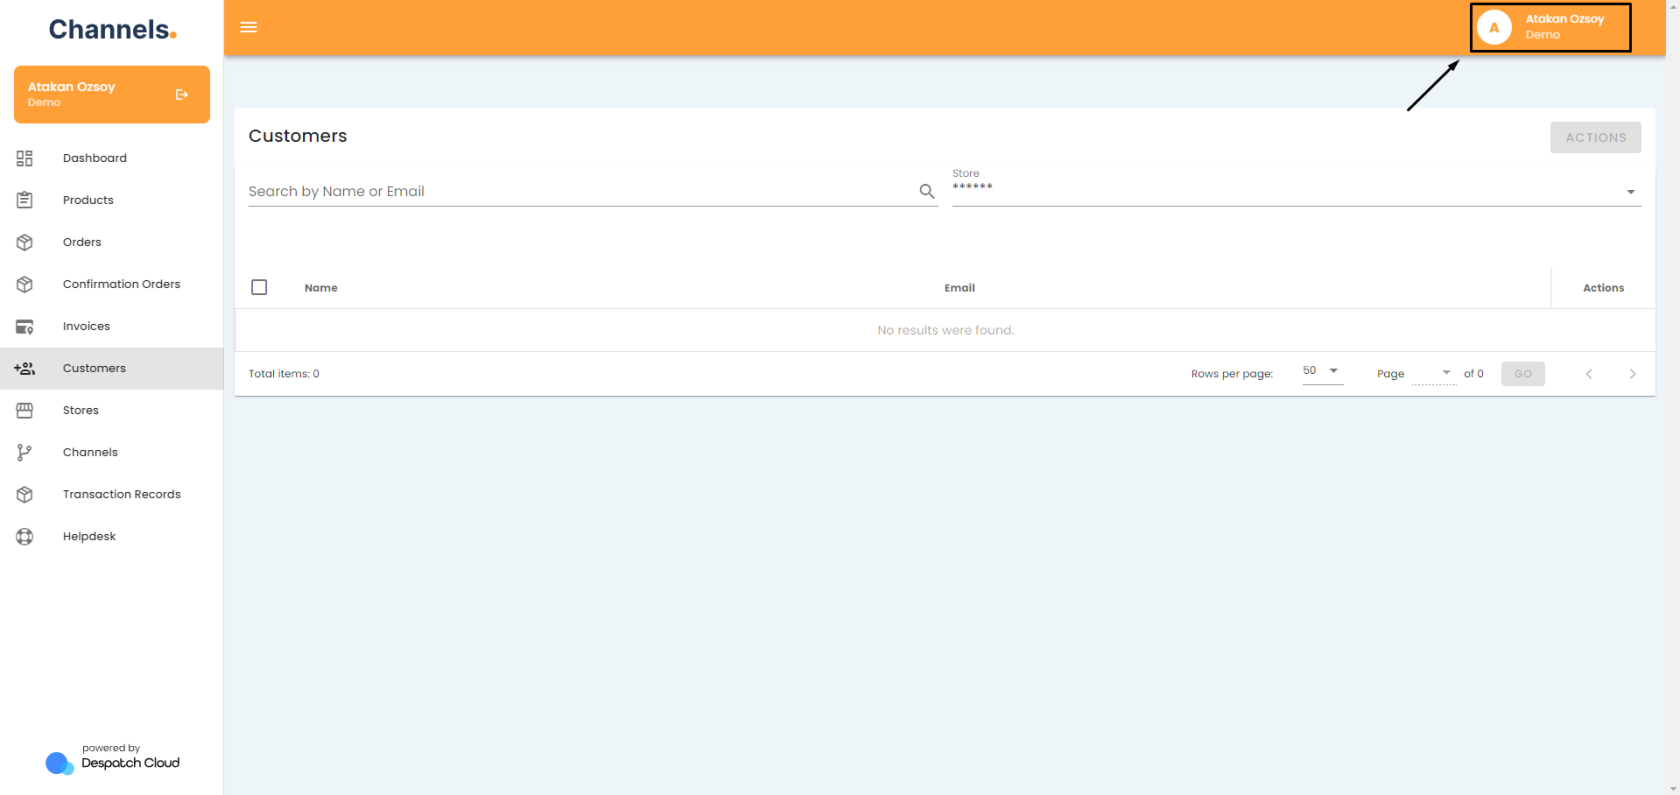
To access the companies section, begin by selecting your username, located in the upper right corner.
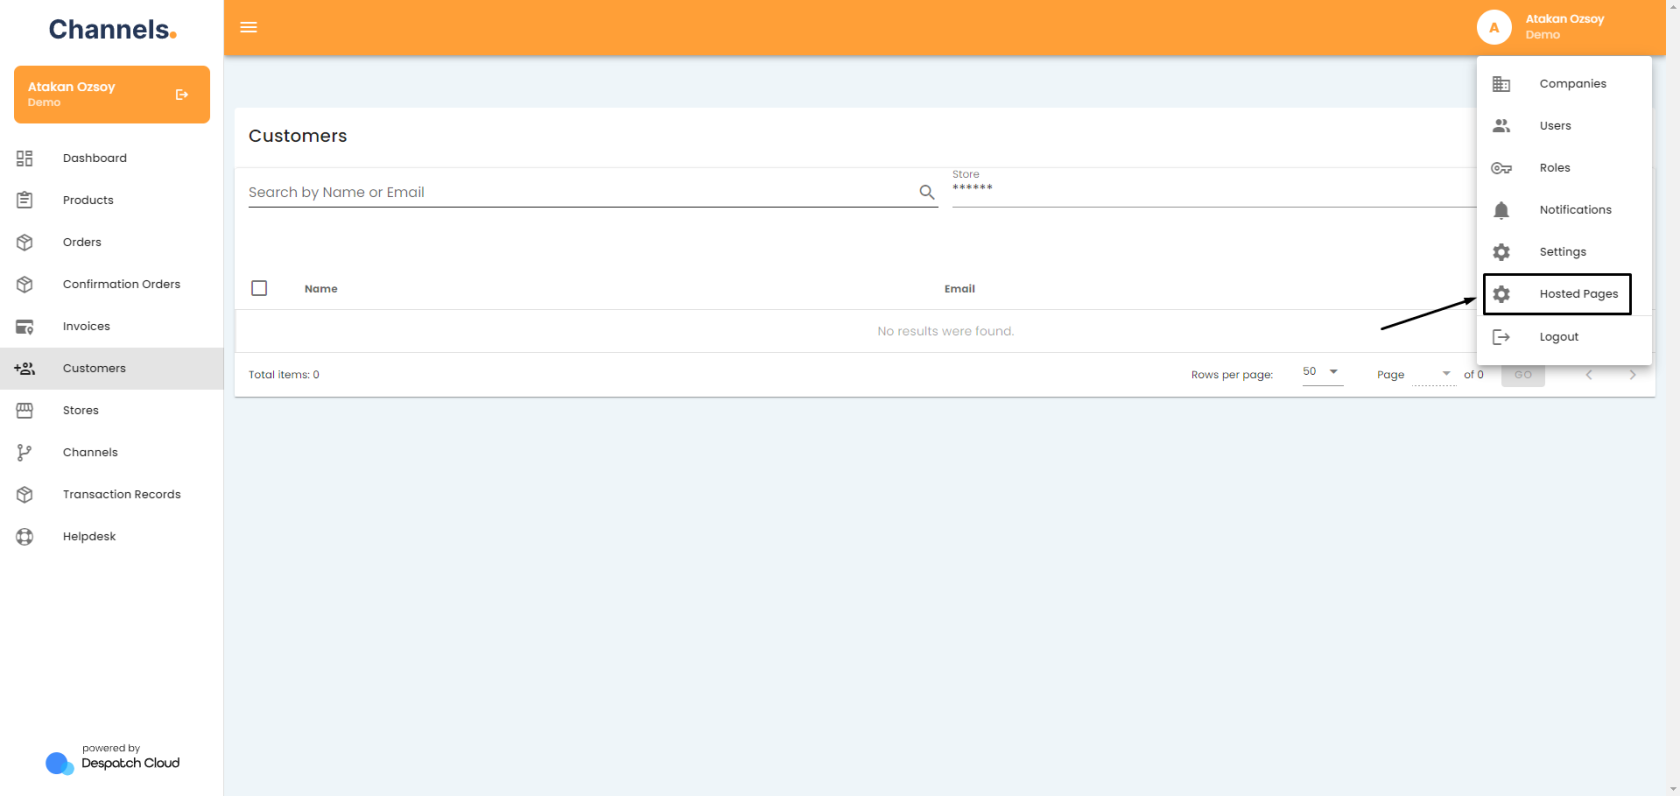
Then, from the ensuing menu, choose "Hosted Pages."
Hosted Pages Explained
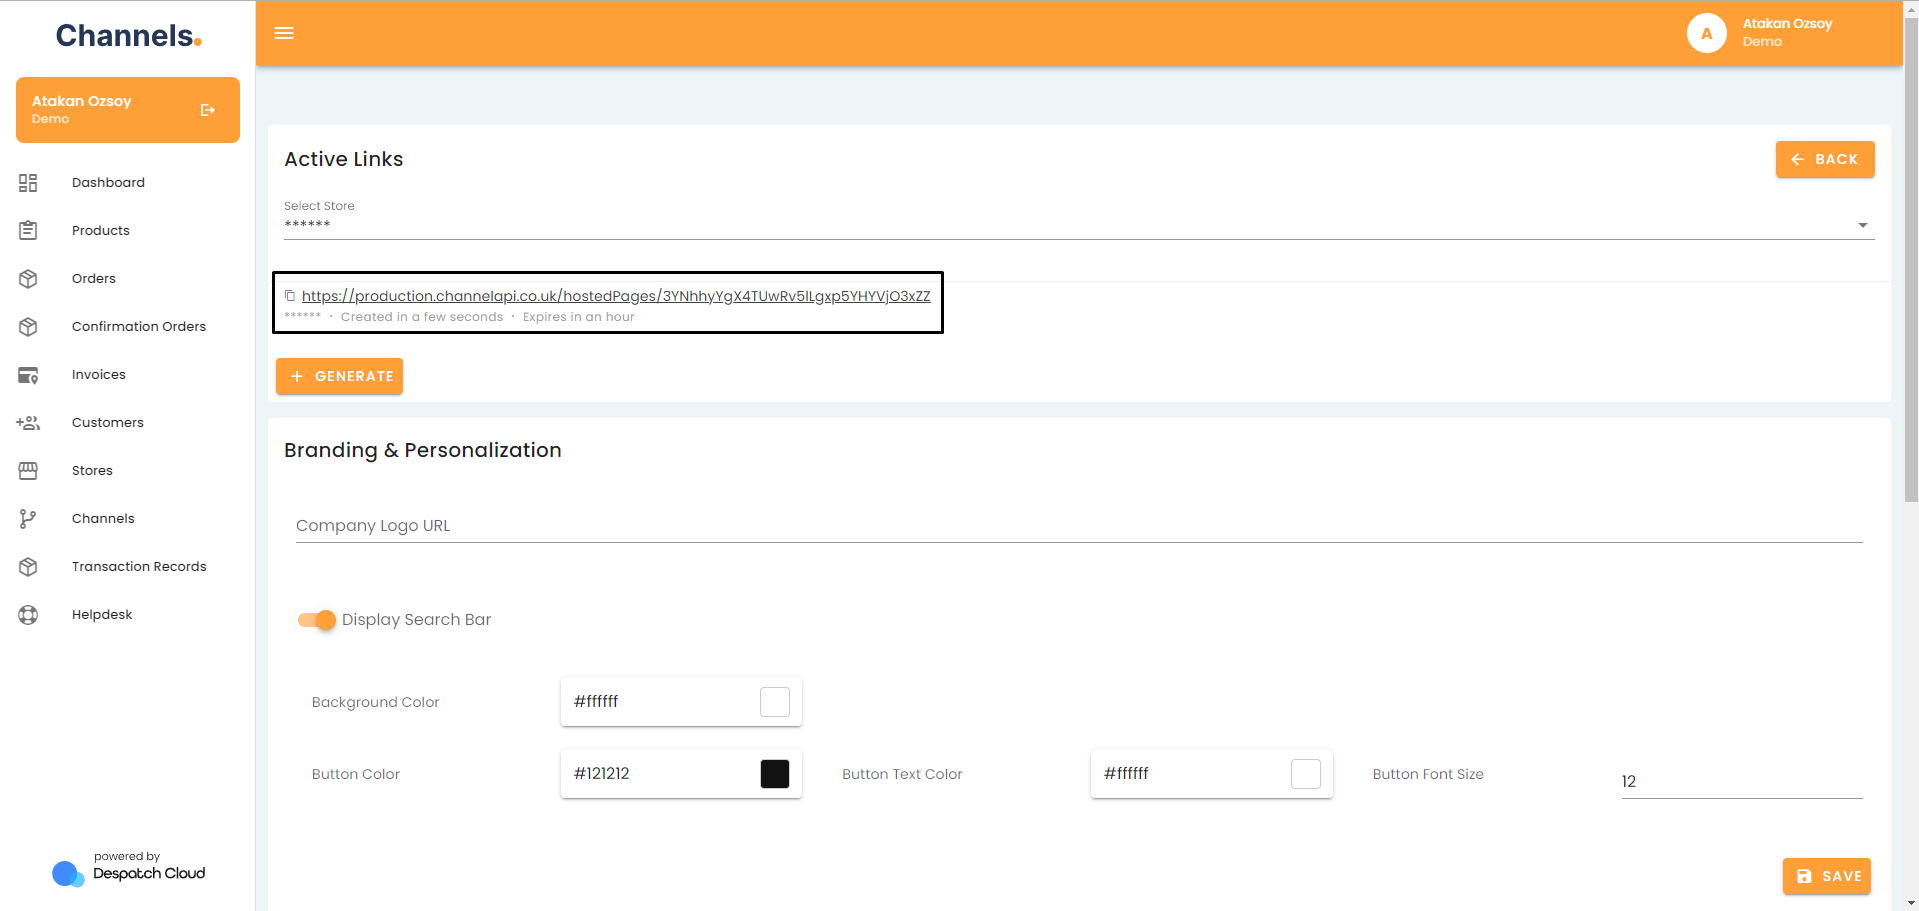
In the initial section, referred to as "Active Links," you can choose a specific store and generate an invitation link for that store by clicking the "+ Generate" button. 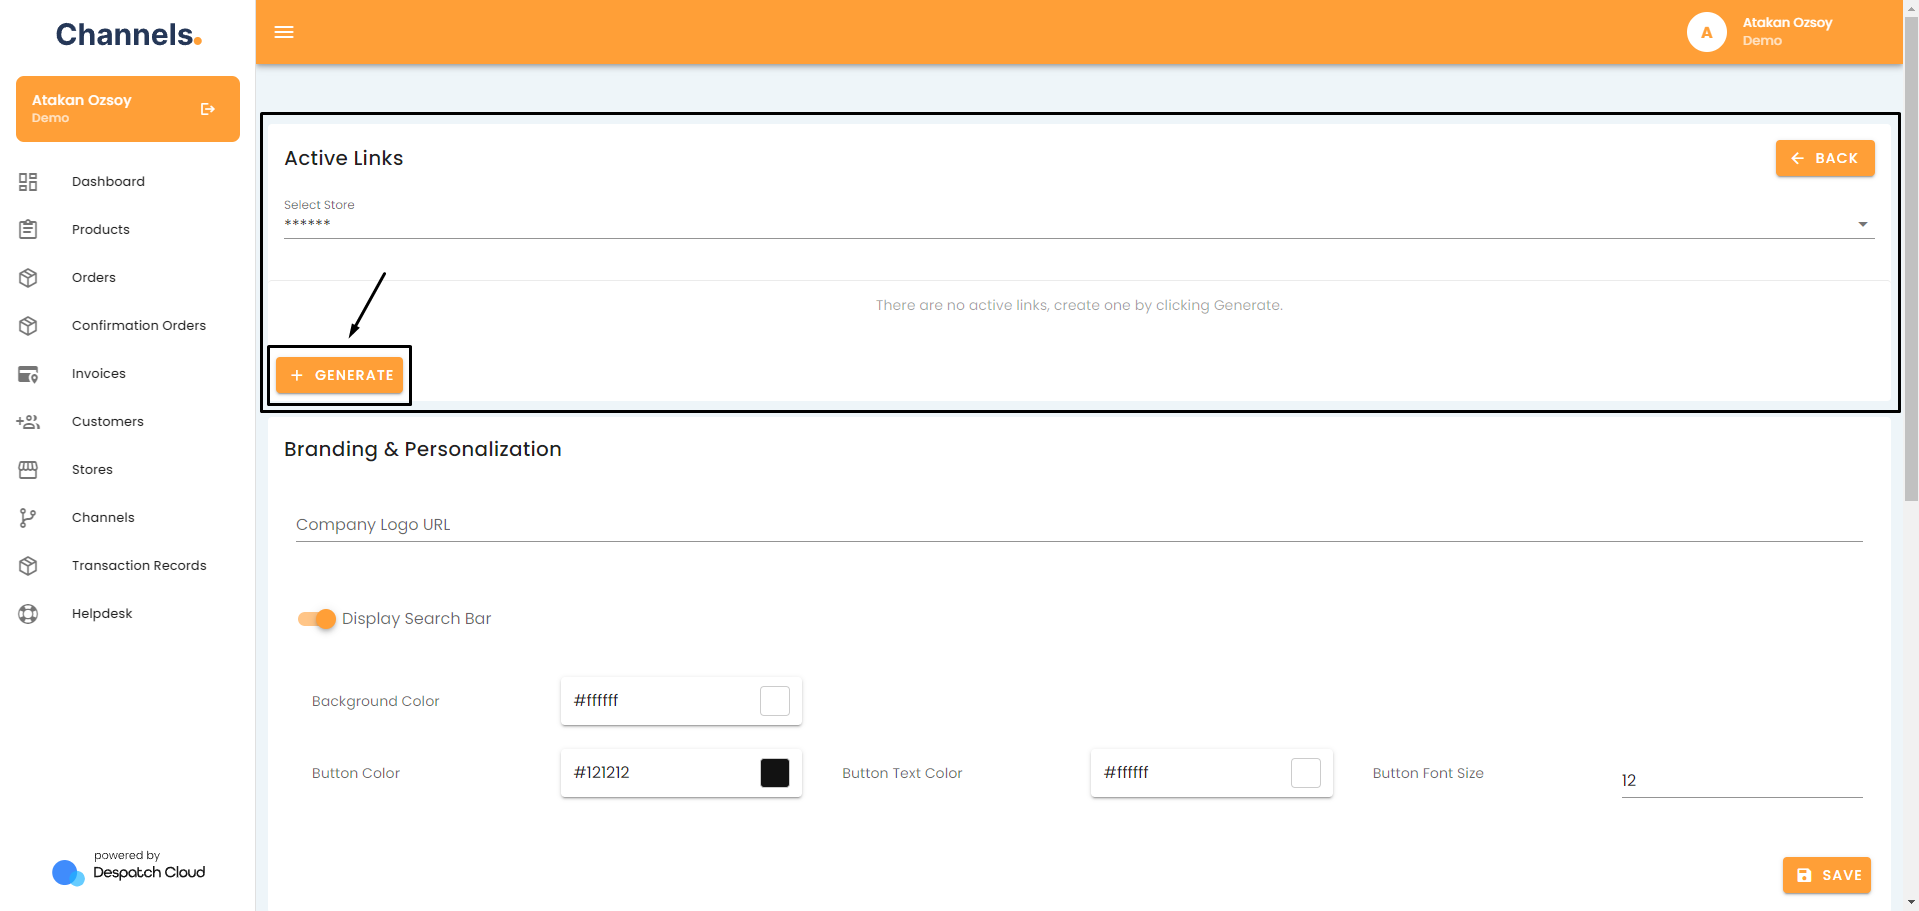
Please note that the generated link remains valid and accessible for just one hour. After this period elapses, you will need to create a new connection should you wish to share it.
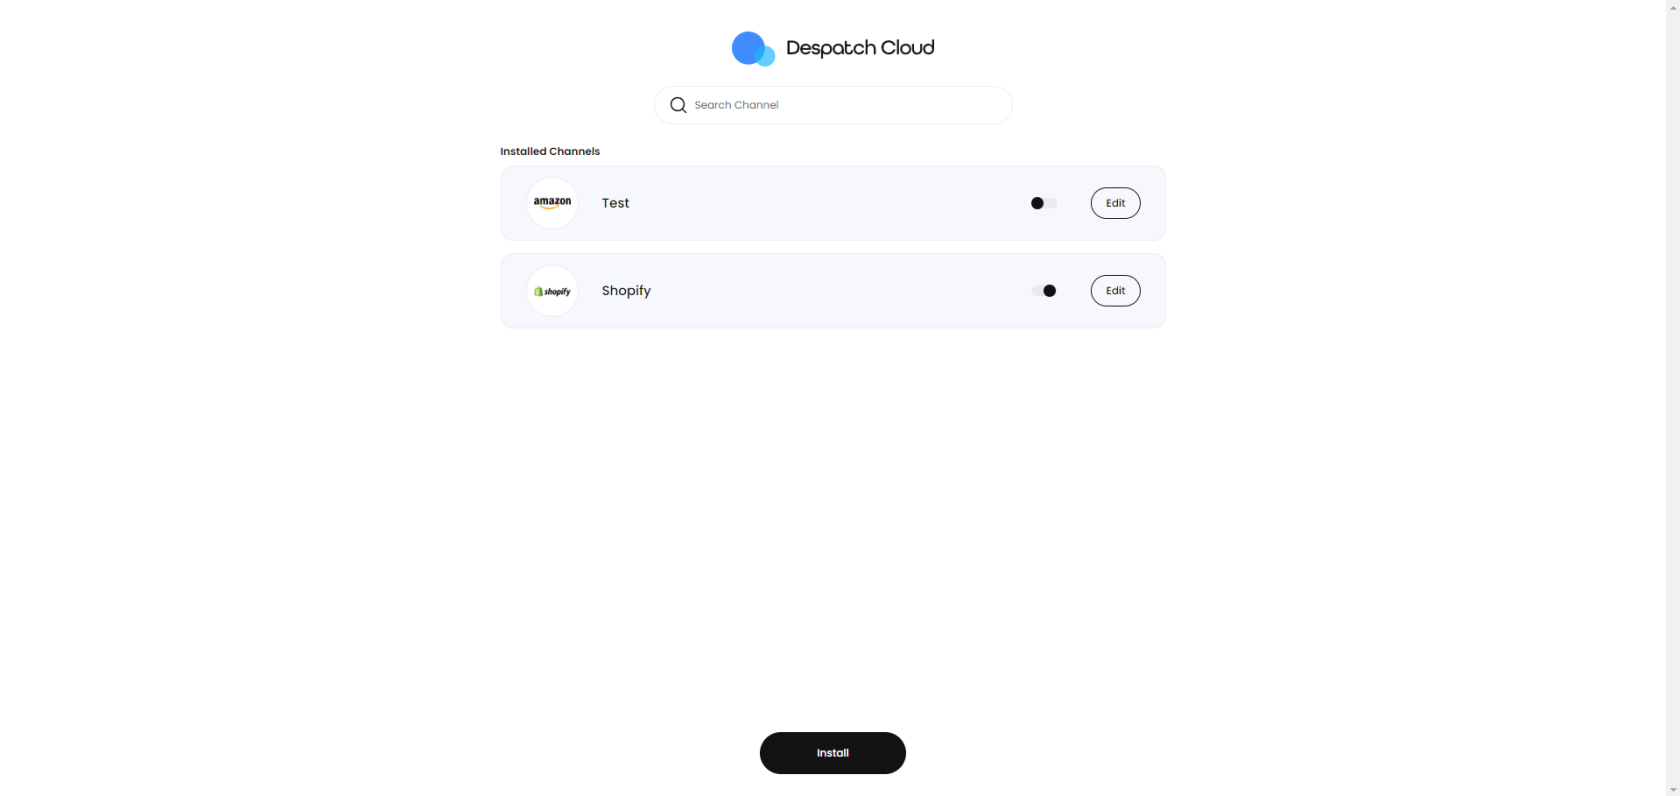
Upon clicking this link, users will be directed to a new page where they can either choose to install the channels you've configured or modify the channels they have previously installed for this store.
In the final production stage, you are expected to automatically generate and display the hosted page URL as needed by utilising the following API request: https://documenter.getpostman.com/view/16240950/TzeWGTgq#f24feaa9-b5b8-44b8-a3ba-7be728857ee4 referenced in the documentation.
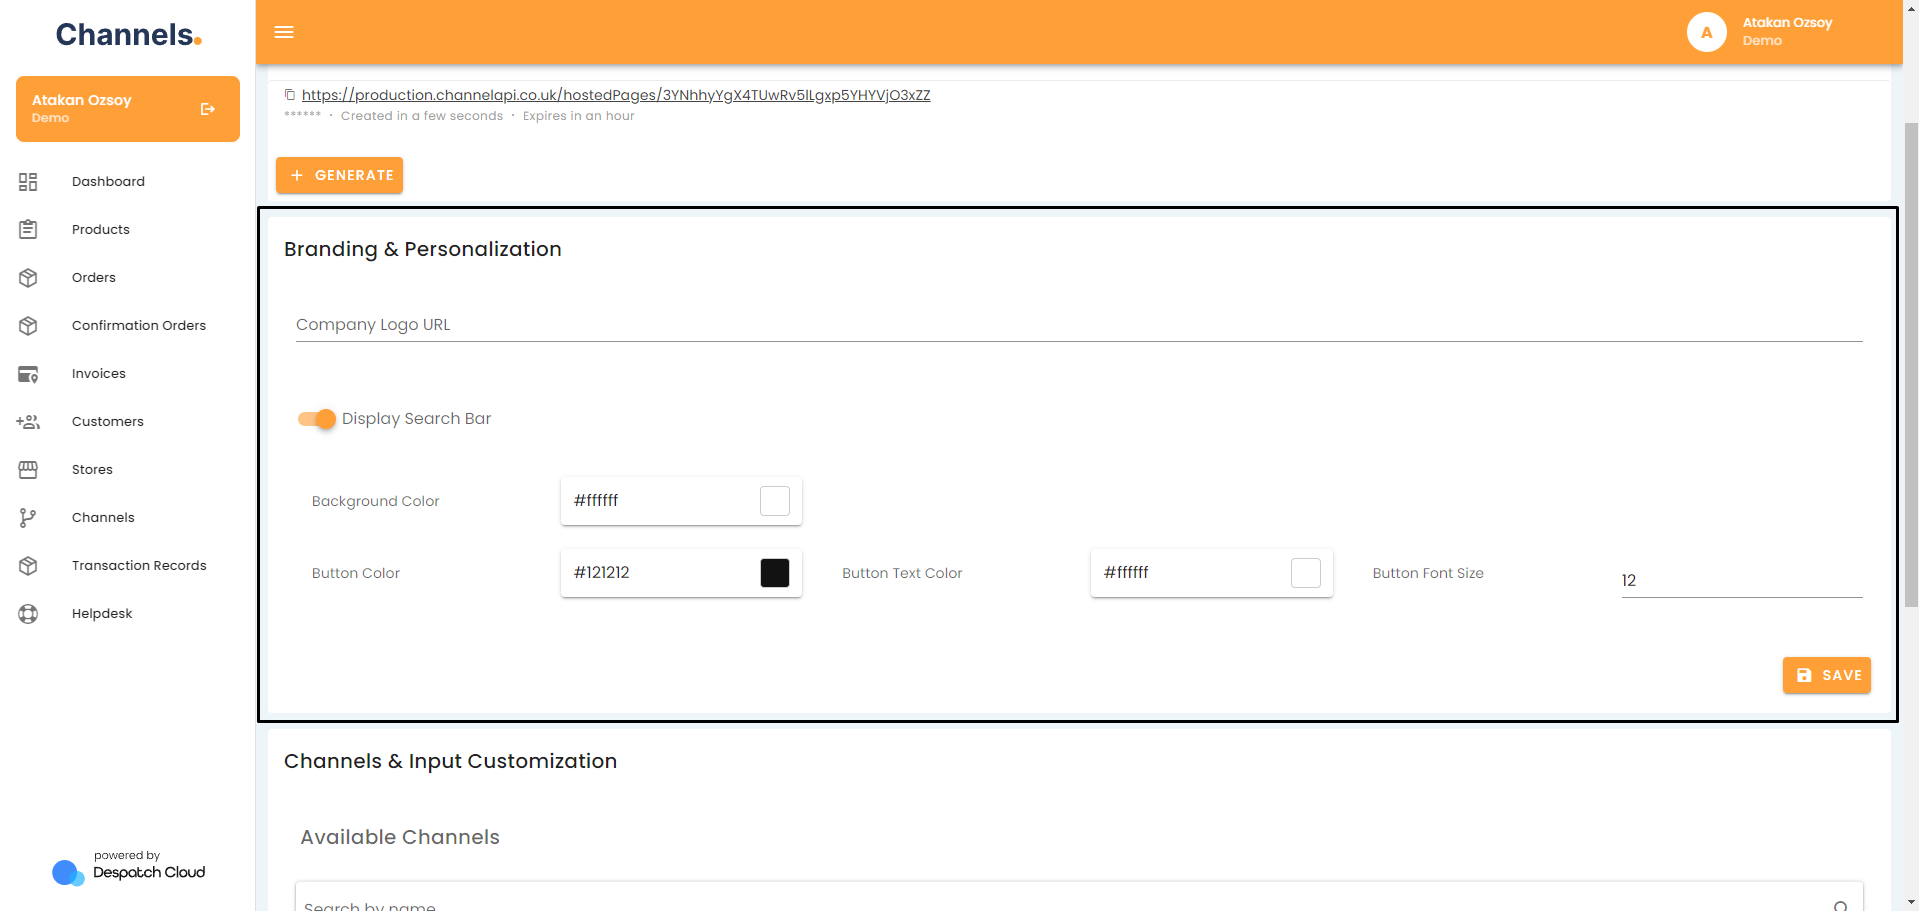
Moving on to the "Branding & Personalisation" section, you can customise various aspects. You can upload a custom logo using a URL, opt to display or hide the search bar for the channels or adjust the page's overall colour scheme and font size.
Recommended logo dimensions are 230 pixels in width and 40 pixels in height.
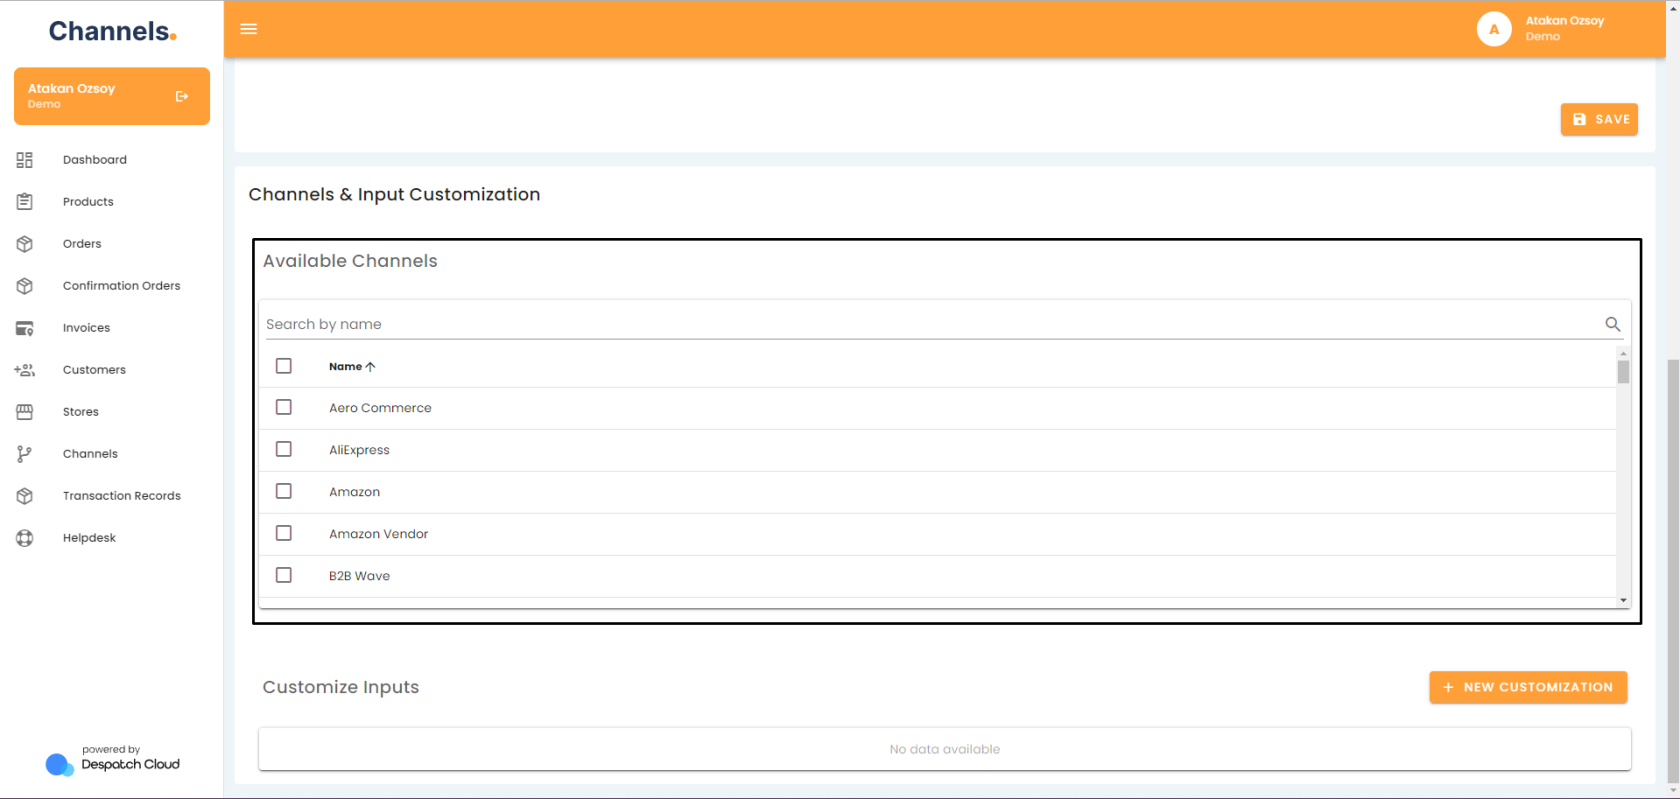
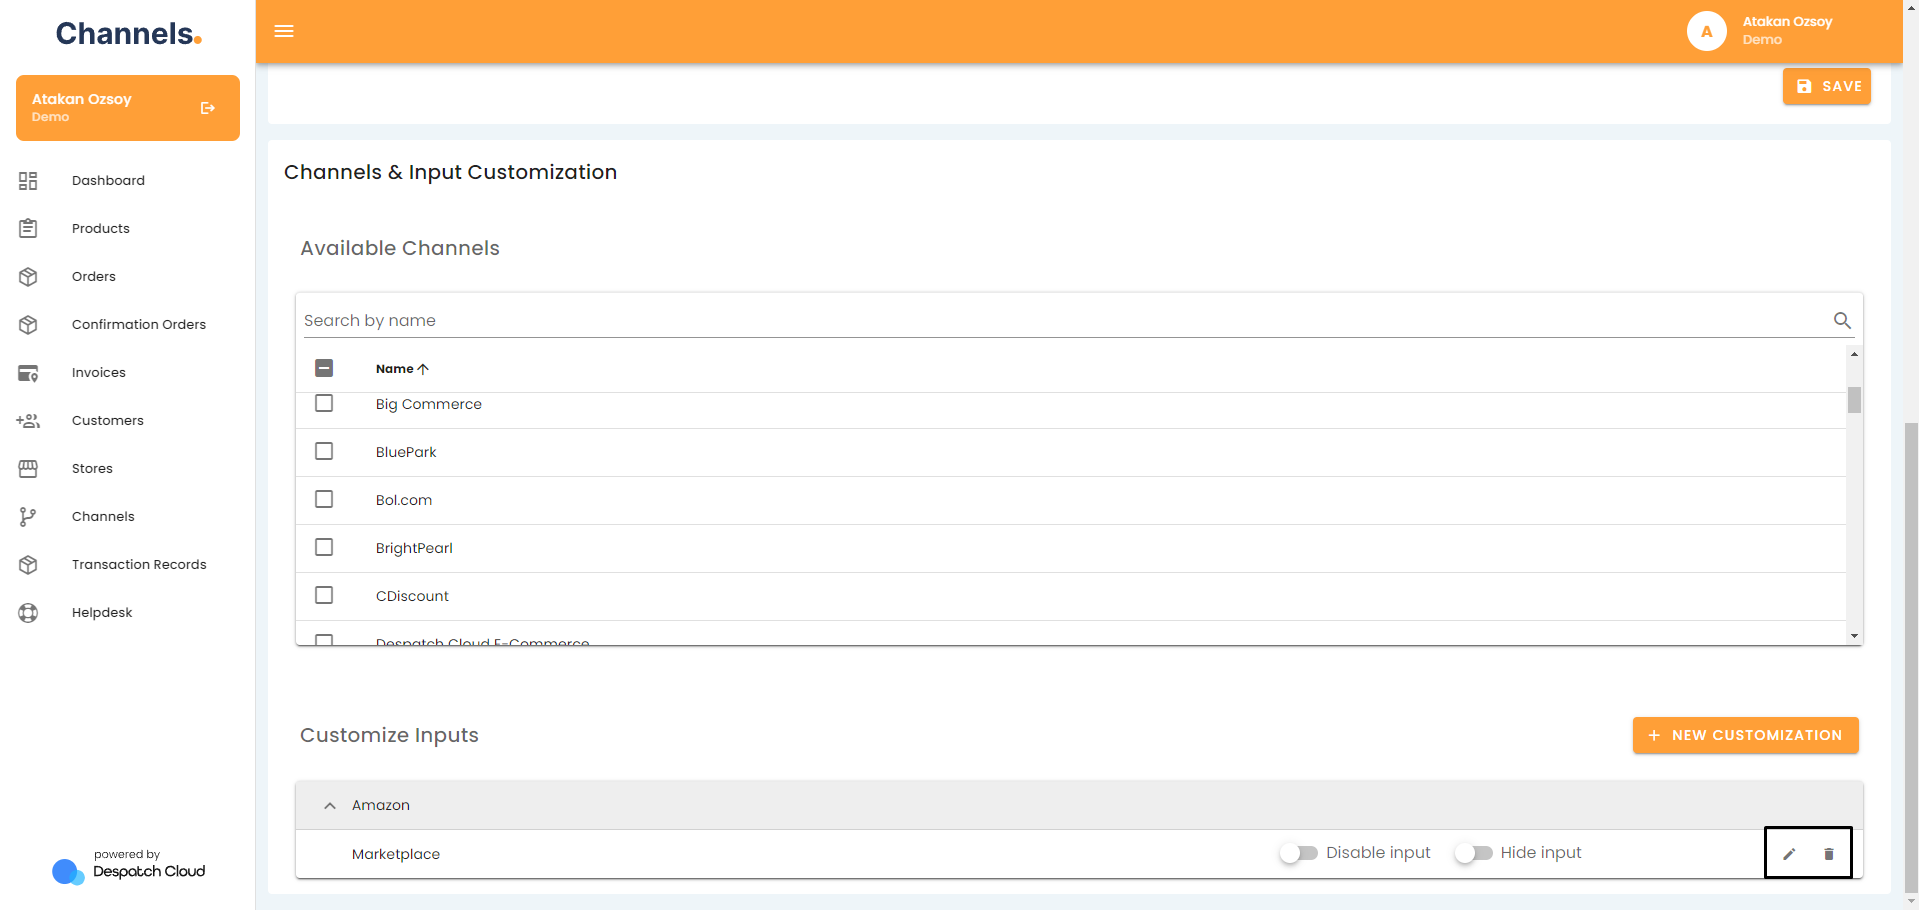
In the "Available Channels" section, by toggling the checkboxes, you can make channels either available for installation or hide them. Collectively, this section empowers you to modify the visual appearance and filter the available channels.
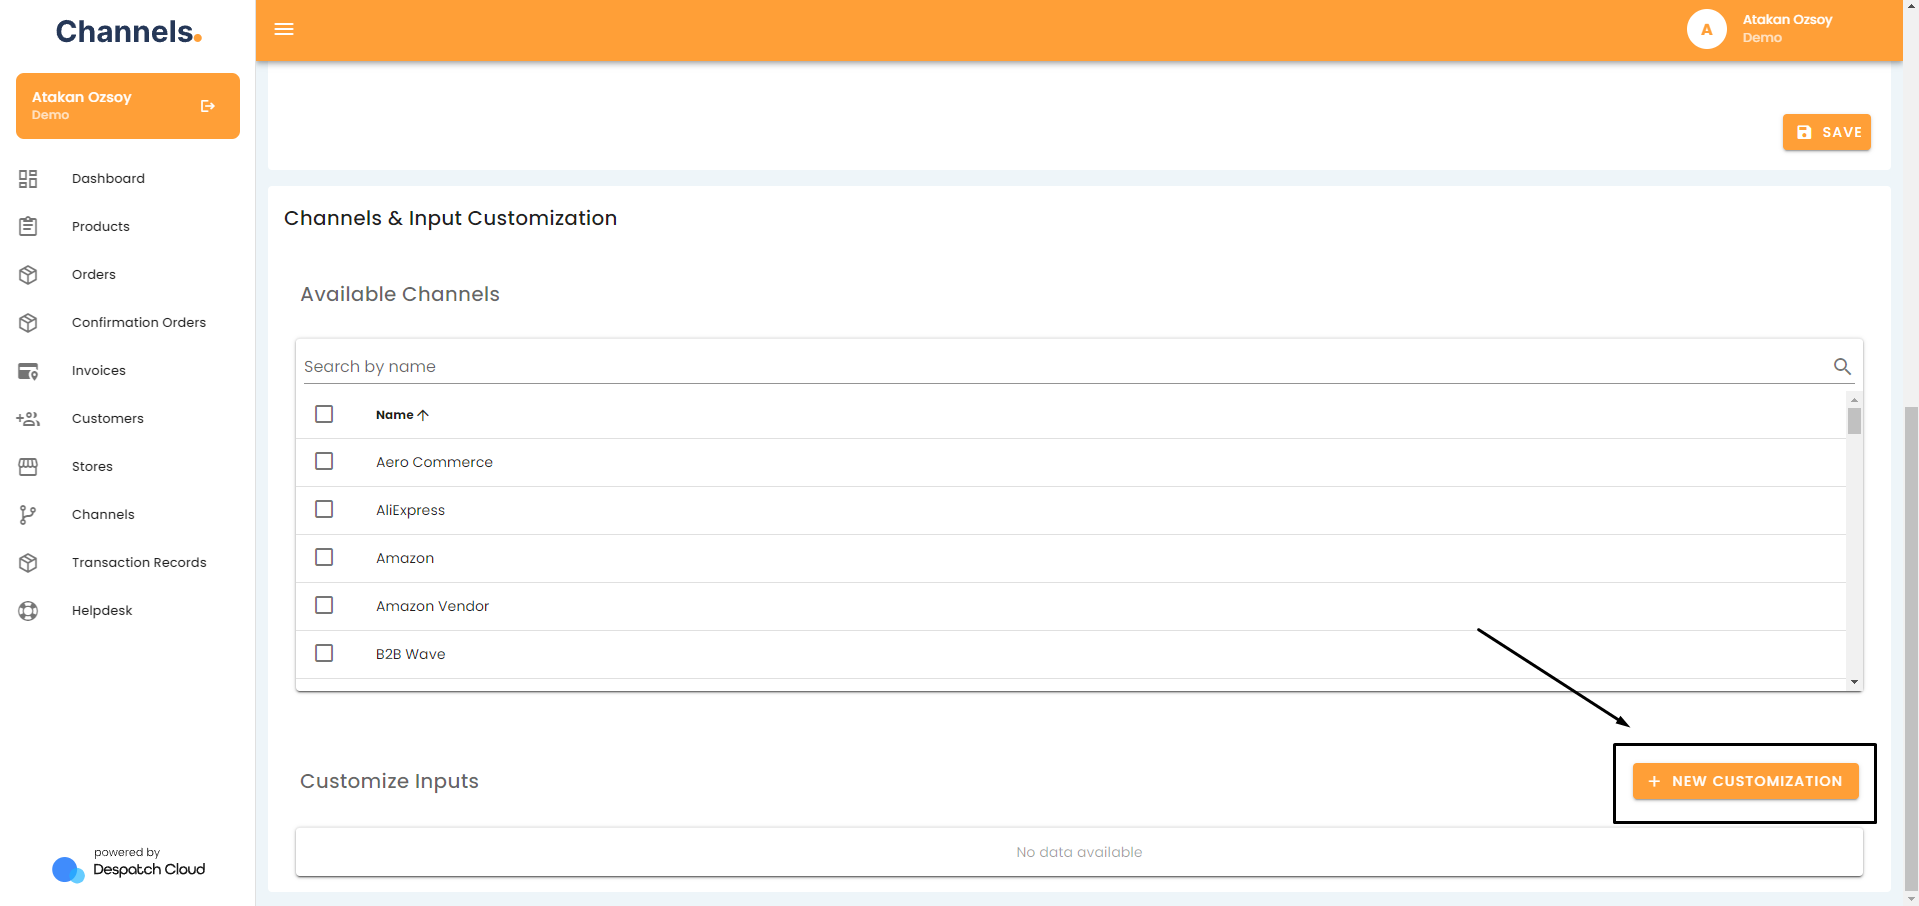
Next to "Customise Inputs," you can click the "+New Customisation" button to tailor individual channels and their respective input fields.
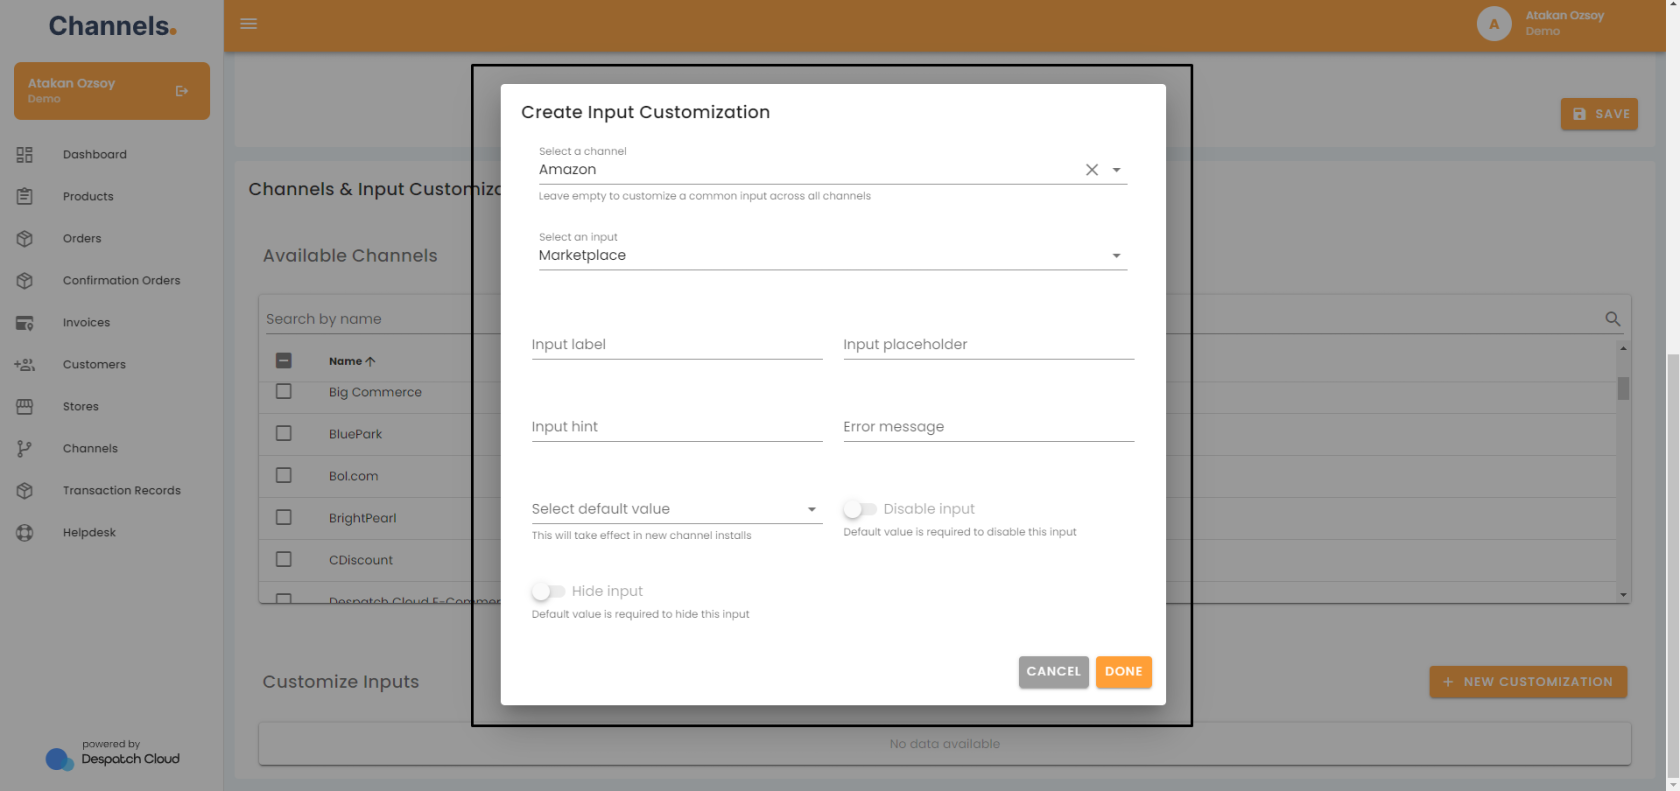
First of all, you need to select a channel and an input to modify for the selected channel. You have the flexibility to modify several elements, such as input name, placeholder text, hover text, the error message displayed when incorrect information is entered, and a default value. Alternatively, you can choose to turn off an input field yet displaying it to the users by switching on "Disable Input". Switching this setting on shows the input field to your customers, but does not allow them to fill it in and automatically uses the default input. Switching on the "Hide Input" setting allows you to hide the input from your customers entirely, and automatically uses the default input.
You can edit your customizations by clicking the edit icon to the right of the page or delete them by clicking the bin icon. You can also directly disable or hide inputs by using the switches.

