
VirtualStock
Installing the VirtualStock Plugin
To add the VirtualStock Plugin to your Channels account, kindly adhere to the following steps:
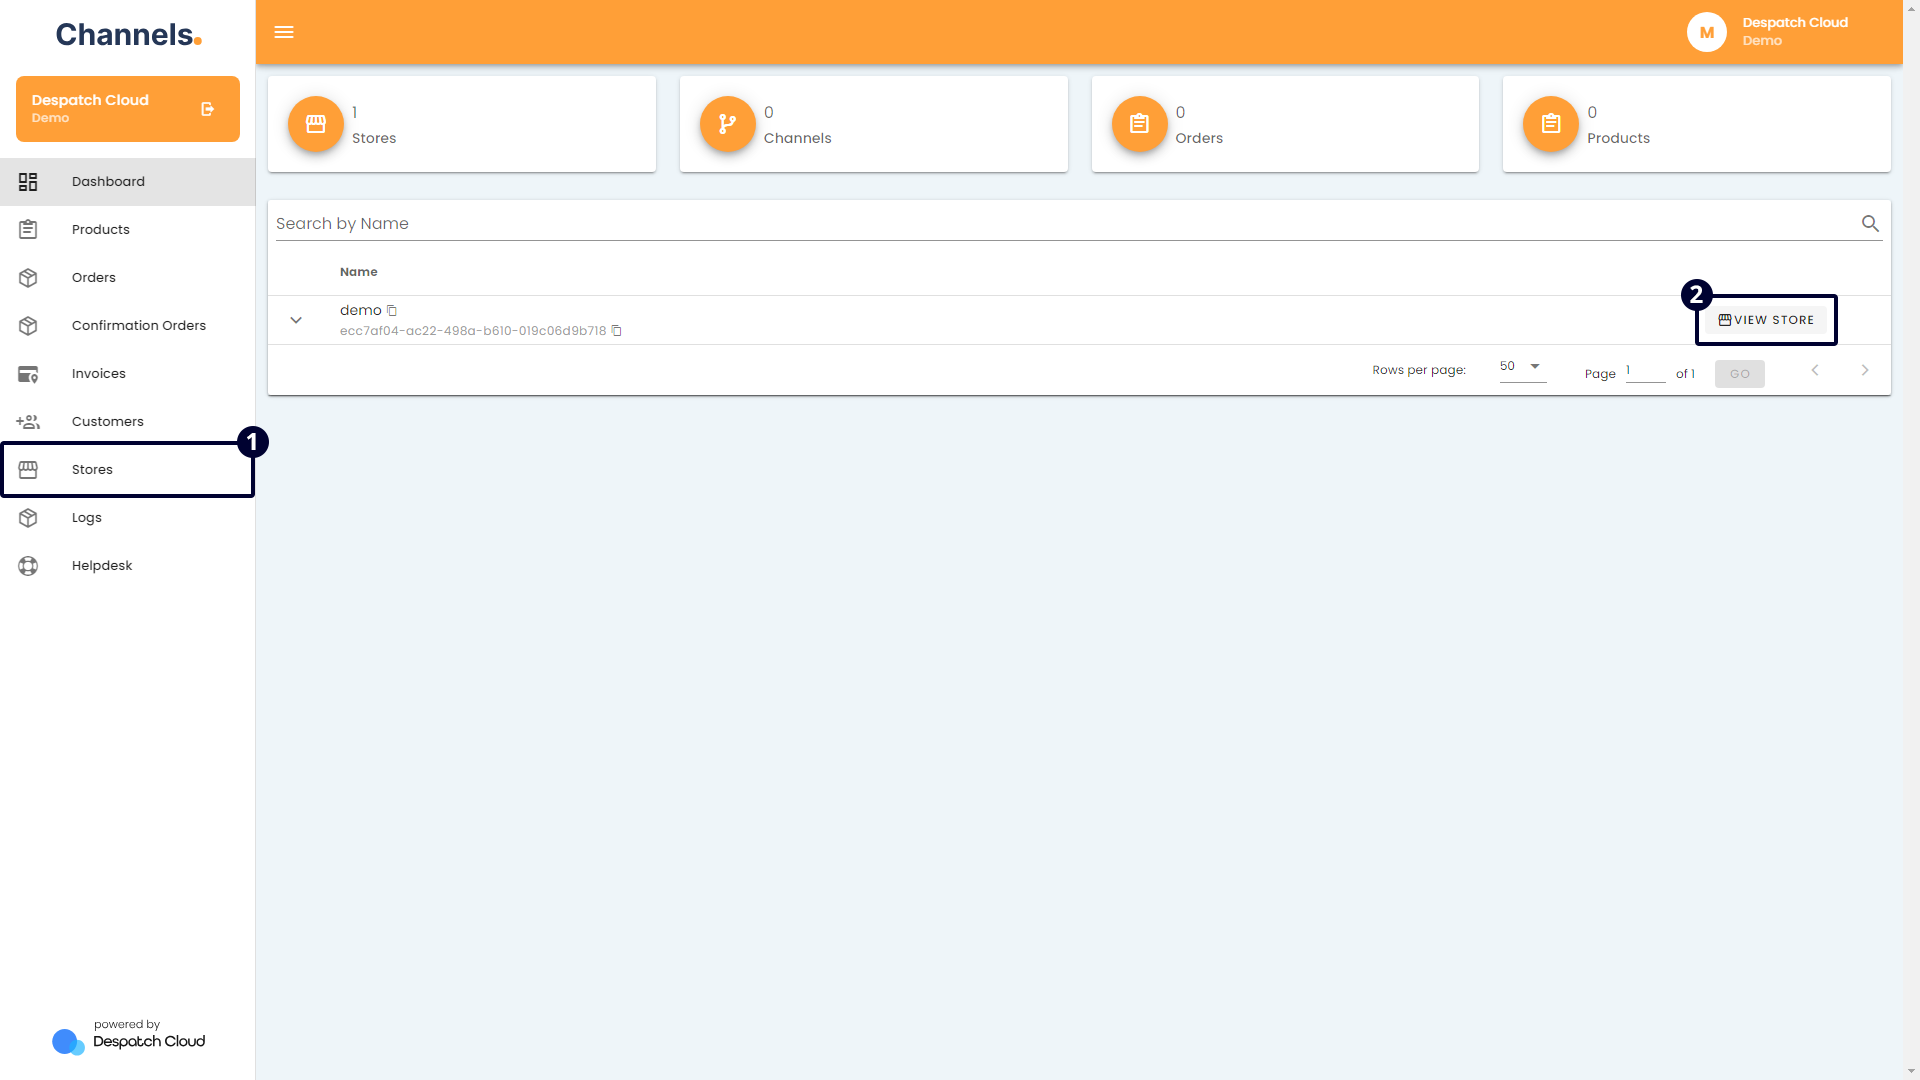
- Access your account and go to the left side of the screen. Click the "Stores" button.
- To edit an existing store, click the edit button on the right side. If you need to create a new store, click "+ ADD" above, name it, and use the edit button to make changes.
- Go to the Plugins section and Click "+ ADD" to begin the installation.
- A window will appear in the centre of the screen. Choose "VirtualStock" from the list of available channels.
- Provide the required information:
- Plugin Name: Input a suitable name in the designated field. Select a meaningful name to you, possibly aligning with your store's name, for clarity in future order references.
- Username: Enter the username provided by VirtualStock or your account administrator.
- Password: Enter the password associated with the provided username.
- FTP Username: This is used to authenticate your connection to the FTP server, facilitating data exchange between your store and VirtualStock.
- FTP Password: The password associated with the FTP username. Ensures secure access to the FTP server. This, combined with the FTP username, allows your store to send and receive data files securely.
- Supplier for Orders: A dropdown menu where you select the supplier to whom orders will be sent. Specifies which supplier will fulfil orders placed through your store. This ensures that orders are routed to the correct supplier for processing.
- Supplier for Products: A dropdown menu where you select the supplier providing the product information. Identifies the source supplier for the products listed in your store. This is essential for maintaining accurate product information and inventory levels.
- Order Management:
- Deduct Stock via Orders: Adjusts the VirtualStock stock levels dynamically as orders are processed.
- Stock Management:
- Add Products to VirtualStock:
- Activate this function to synchronise your store products with VirtualStock. Enabling it creates your store products within the VirtualStocksystem.
- For example, suppose you intend to retrieve products from a sales channel like TikTok and transfer the product data to VirtualStock. In that case, you must initially activate the product download option from the sales channel. Subsequently, enable the "Add Products to VirtualStock" option to ensure the products are first added to Channels. At this point, the system transmits the product data to VirtualStock. Follow these steps precisely to ensure the products are generated in VirtualStock.
- Download Products: This feature can fetch product information from the VirtualStock plugin and generate corresponding Store products. It also retrieves product quantities from VirtualStock every 3 minutes, updating the plugin quantities accordingly.
- Auto Sync Stock: This functionality ensures that stock levels across all channels under the store linked to this plugin are regularly updated with quantities received from the VirtualStock plugin every 3 minutes.
- Add Products to VirtualStock:
- Once all fields are populated, finalise by selecting "Save" at the bottom right.
- Activate the connection from the top of the screen using the "Is Active" button.
Congratulations! You've successfully set up VirtualStock on Channels. Please visit this page to learn more about using VirtualStock to its fullest extent.
No Comments