About Invoices
Overview
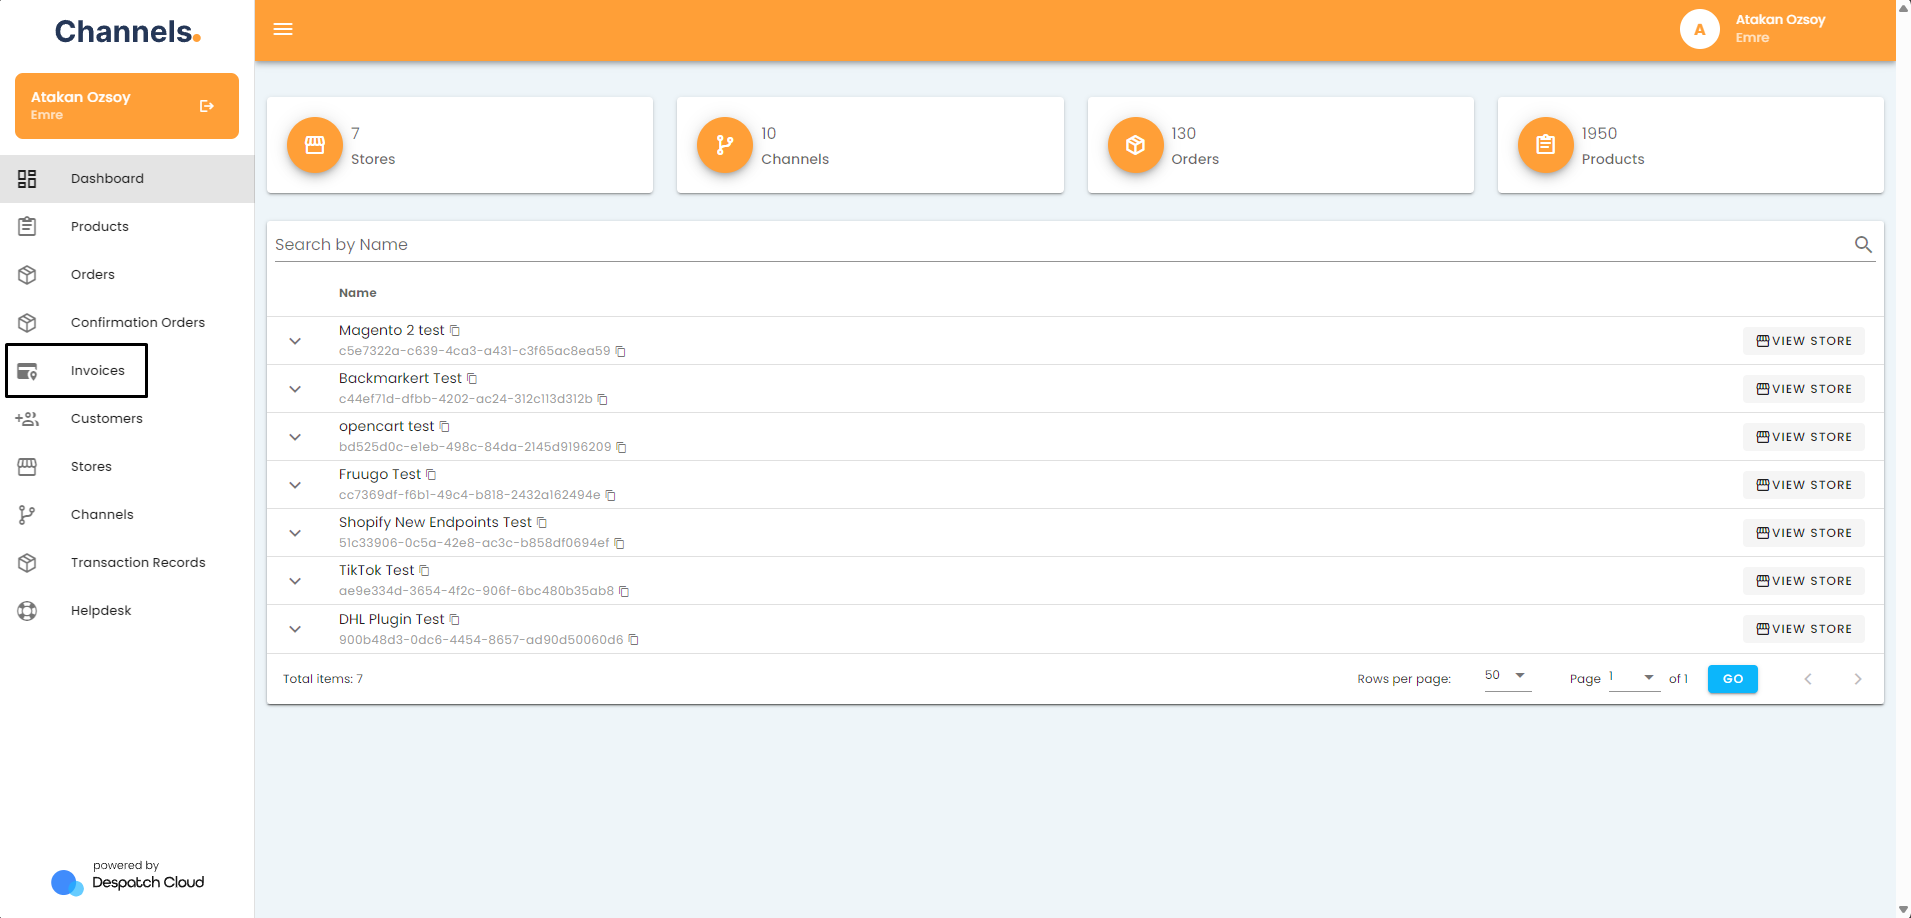
Accessing the Invoices Page
To access the orders page, click the "Invoices" button located in the left-hand menu.
Invoices Page Explained
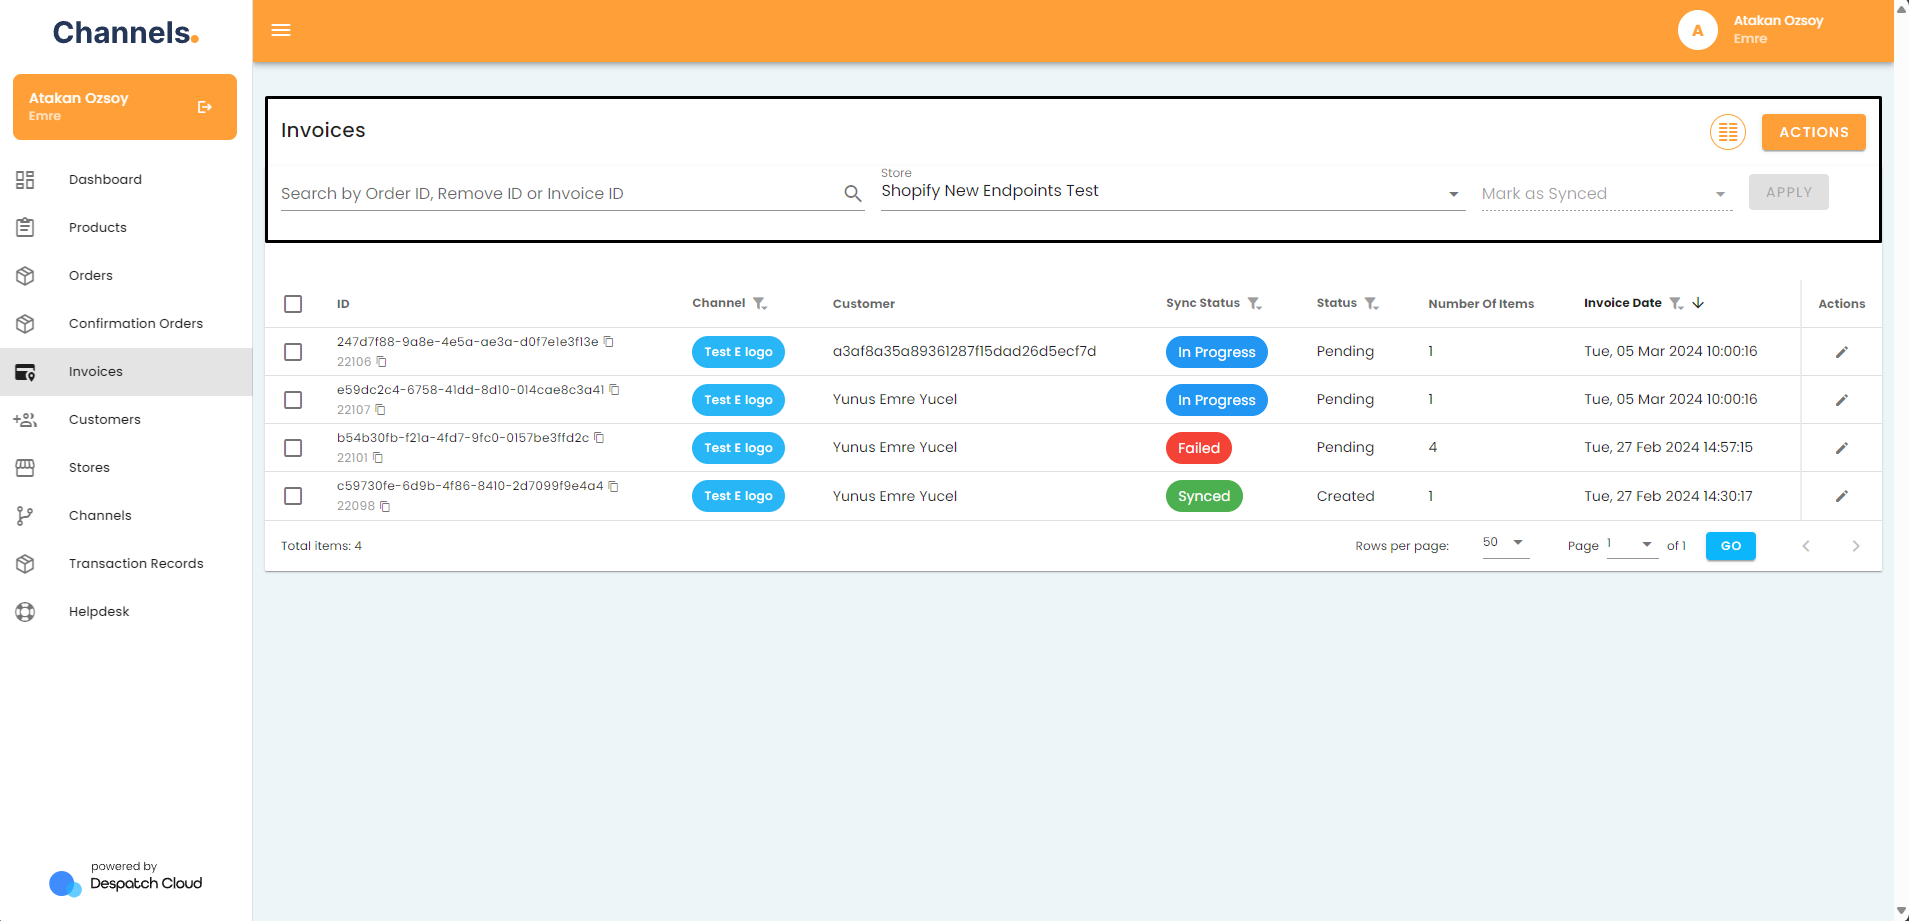
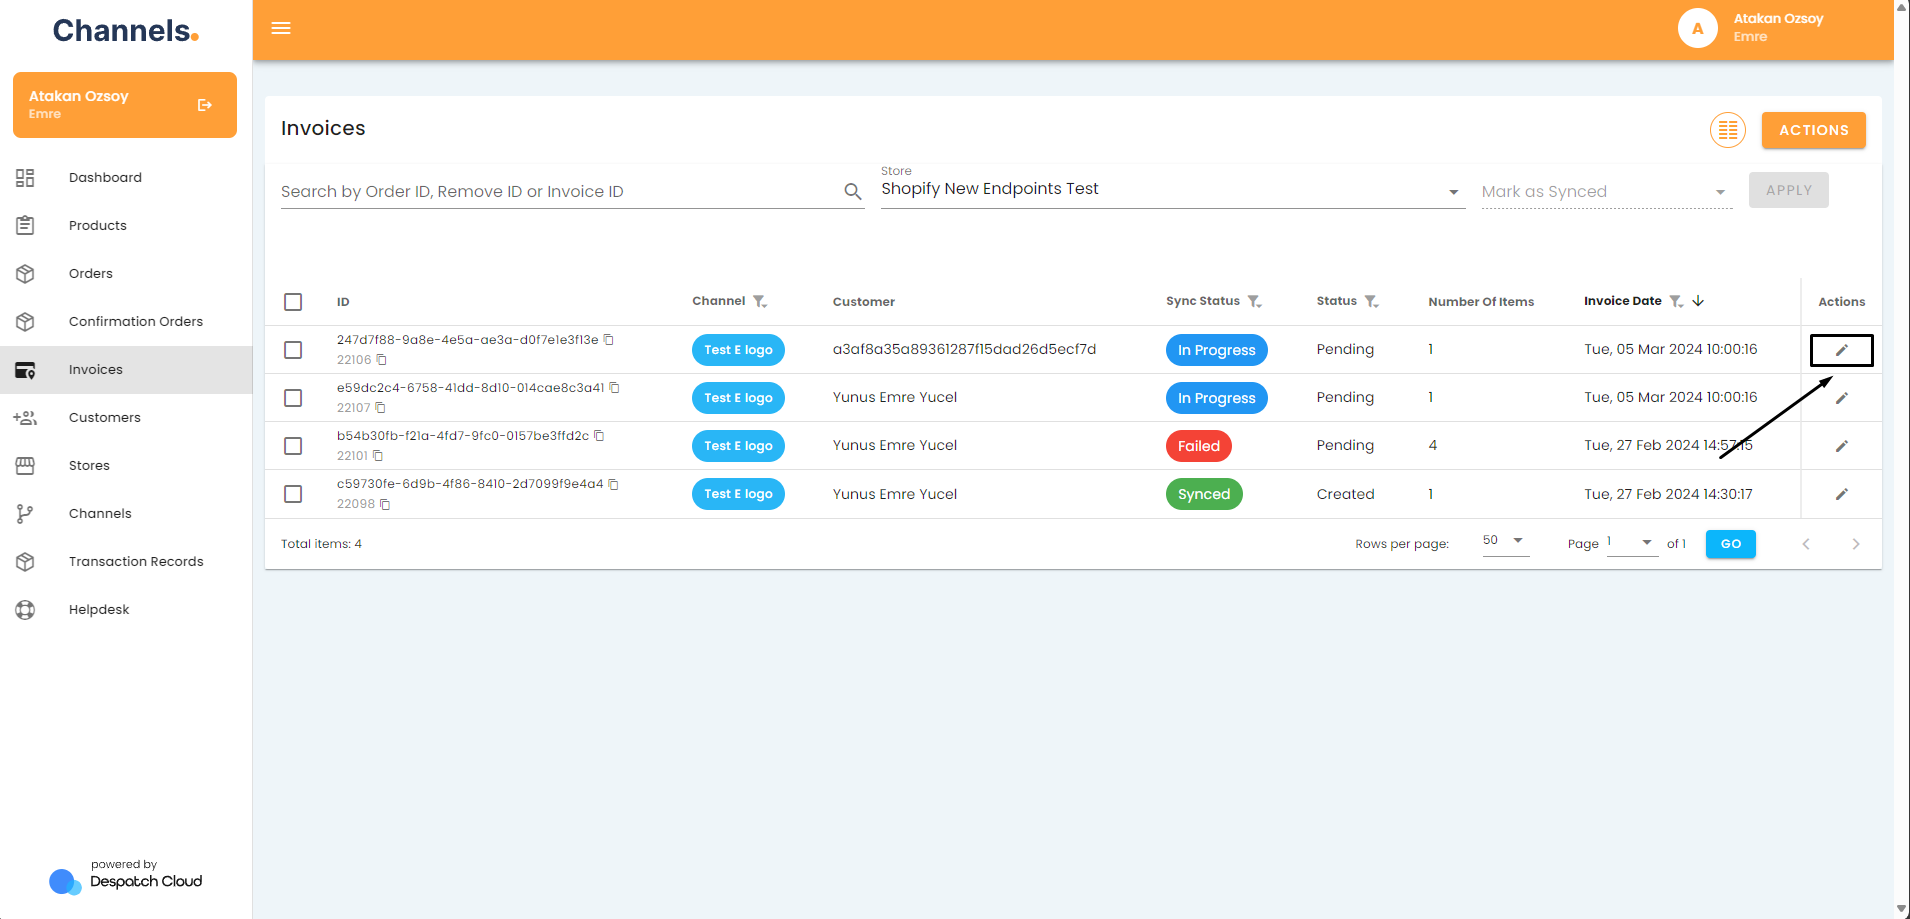
At the top section of the page, you'll encounter a search bar enabling you to efficiently locate and filter invoices by order, invoice, or remove ID. Positioned in the middle is a dropdown list facilitating navigation through your installed stores, where you can select a specific store to display its associated invoices. Without choosing a store or installing an account channel for your store, no entries will be visible. On the right, there's an option to mark selected invoices as synced or not synced, initiating data synchronisation between the accounting channels.
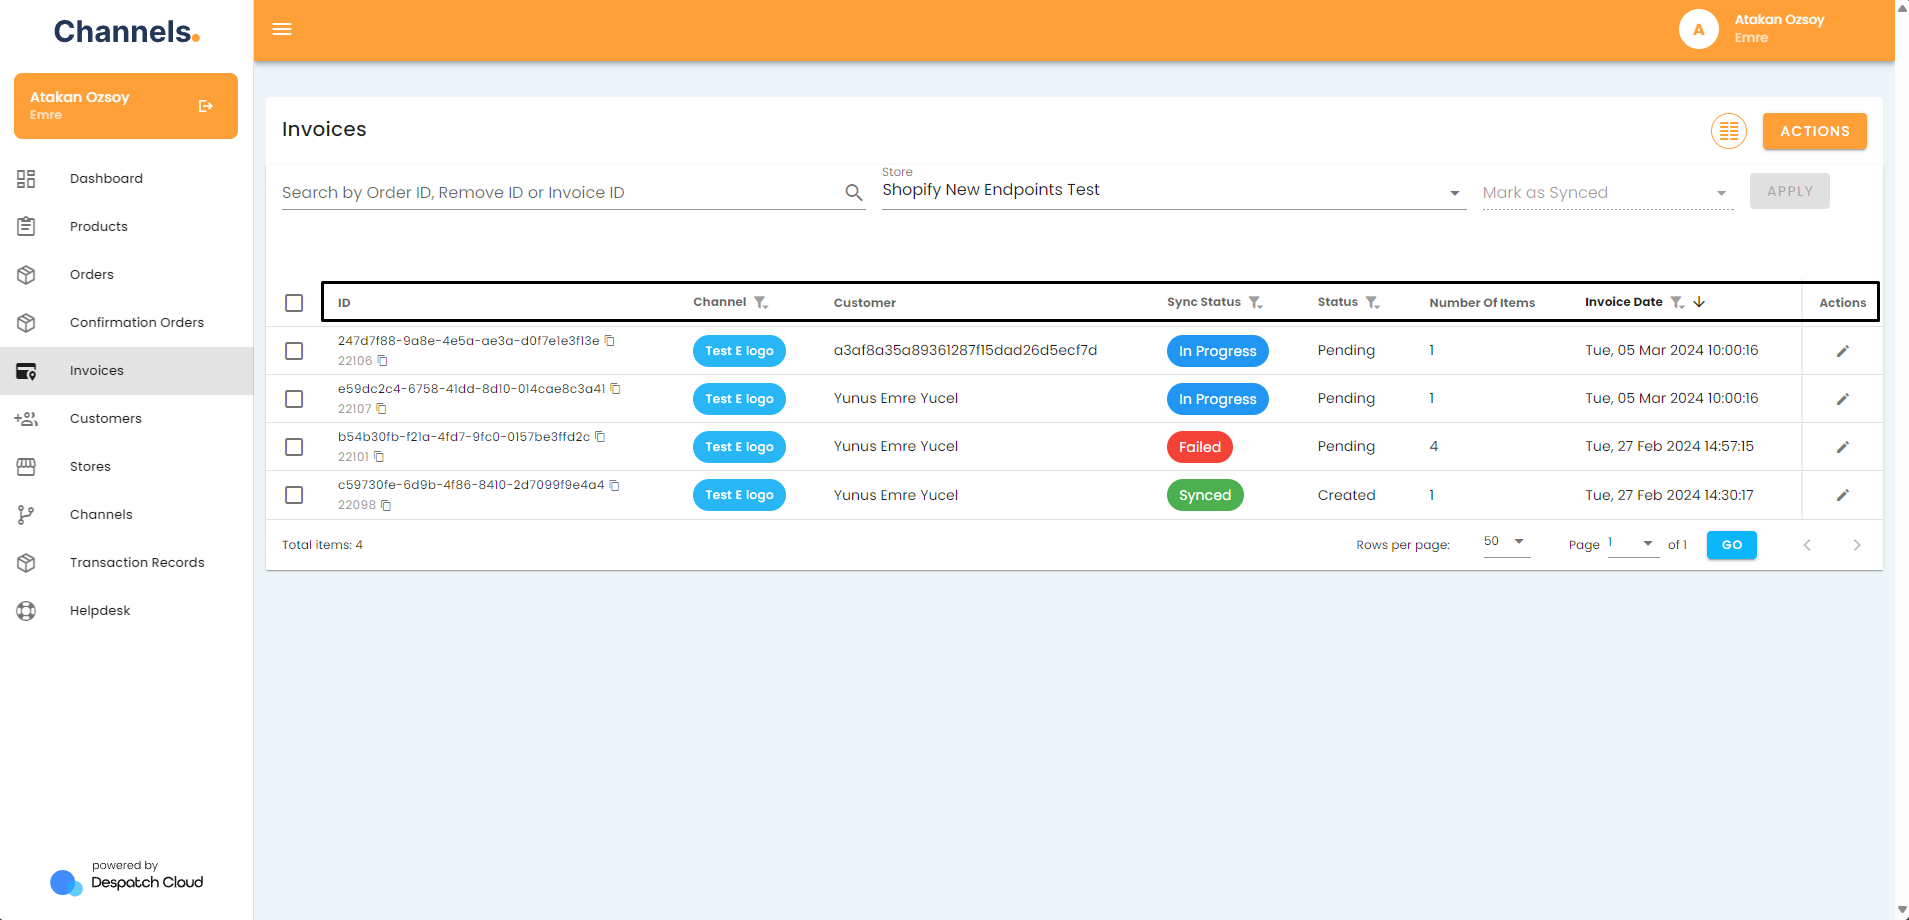
Upon selecting a store, the page populates with invoices relevant to that particular store. The header structure is as follows:
- ID: A unique identification number for the invoice.
- Channel: The sales channel of origin, with filter options available.
- Customer: The customer's name associated with the invoice.
- Number Of Items: Quantity of items registered in the order invoice.
- Status: Current invoice status, with options such as Pending, Failed and Created.
- Invoice Date: Date of invoice creation, providing date and hour filters.
- Sync Status: Indicates the current status within the accounting channel, with options like Pending, Updated, Synced, and Failed.
- Actions: Clicking this button reveals detailed information about the invoice.
You can refine your invoice display by selecting the filtering icons next to the headers, making your selections and clicking the "Add" button.

You can click the pencil icon under the Actions header to access the detailed invoice information page.
Here, the first section furnishes comprehensive details about the order, including order and invoice IDs, dates, statuses, pricing, payment information, and invoice lines.
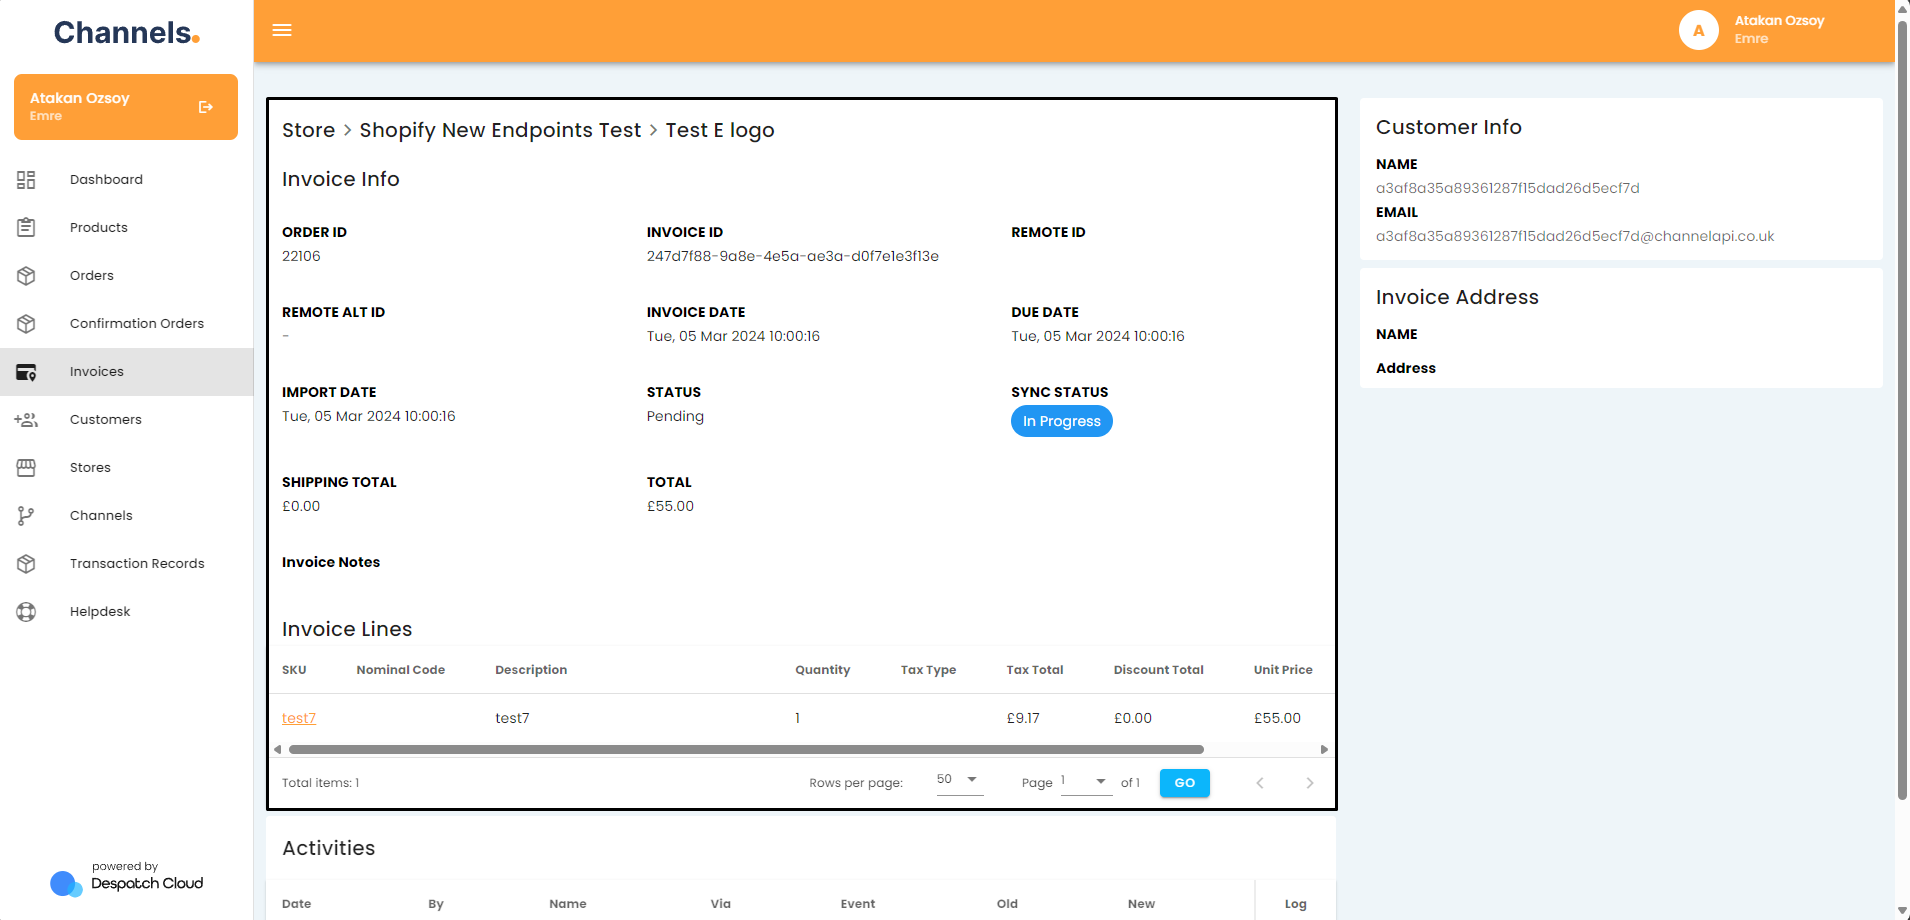
On the right side, customer information and invoice address are presented.

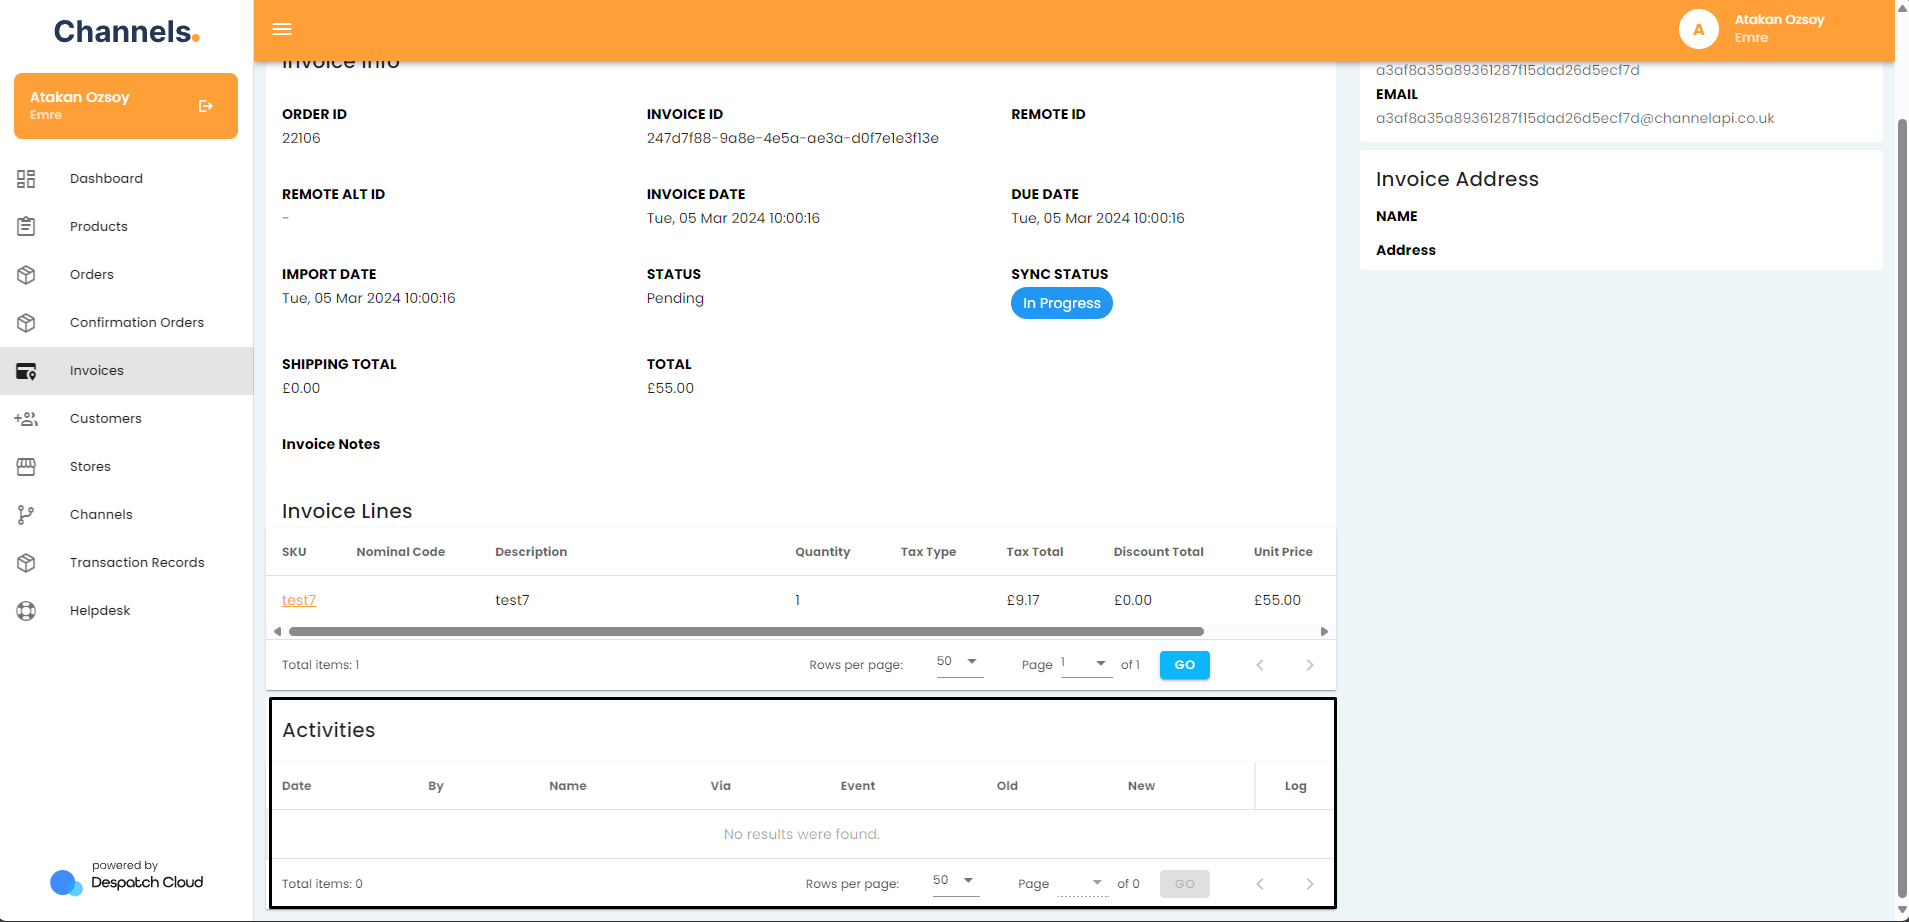
At the bottom page, you'll find a log of changes made to the invoice, indicating the user or channel responsible and the timestamp.
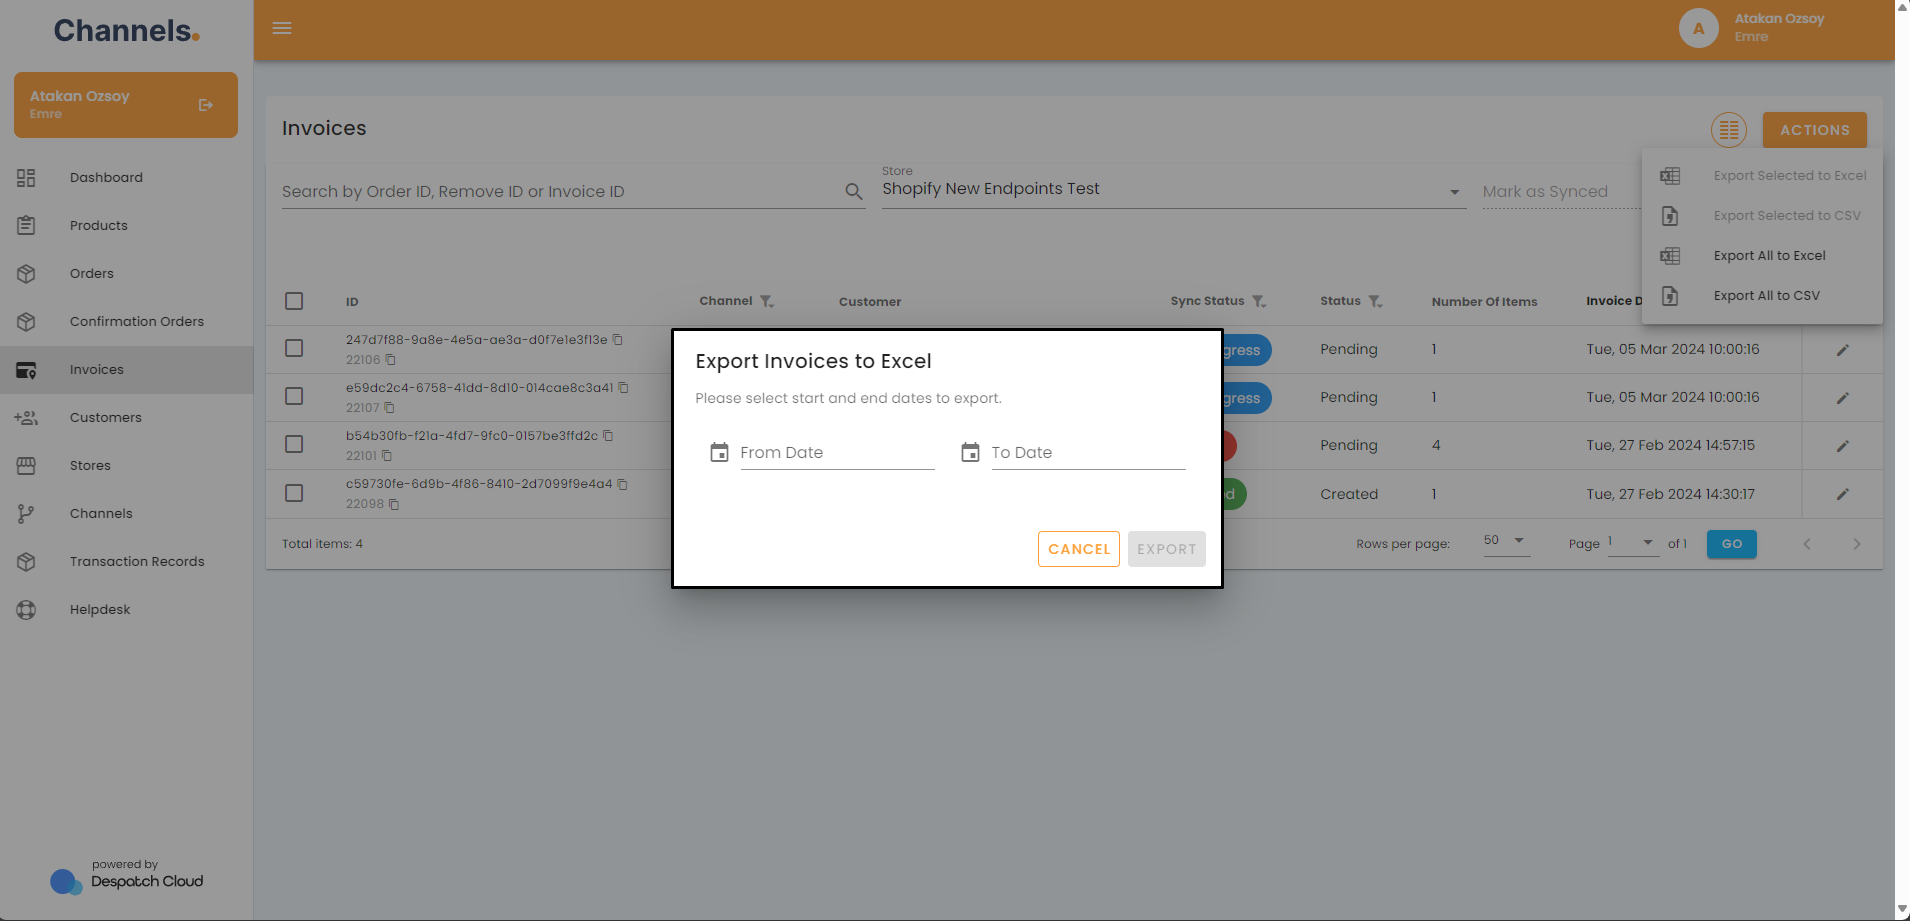
Returning to the invoices page, the "Actions" button at the top-right corner catches your eye. Upon clicking, you're greeted with a dropdown menu where you can choose whether you'd like to export only the invoices you've selected or all of them.

Once you've made a selection you're prompted to select a date range for export and options for exporting as an Excel or CSV file. After your selection, the export processes, and you'll receive an email at your registered address containing the download link.