About Customers
Overview
HarnessChannels theautomatically powergenerate ofcustomer multipleinformation companyfor profileseach withinstore's yourorders, accountallowing you to navigateselect betweena them,store, ensuringsearch thatand filter customers by name and email, access detailed customer and order information, delete customer records, and export customer data remainsin distinctivelyExcel segregatedor andCSV securely stored within the confines of each individual company.
It empowers you with the capability to maintain separate identities for various business ventures while enjoying the ease of accessing and managing them within a singular, centralised account.formats.
NavigatingAccessing andthe SwitchingCustomers Page
To access the companiesorders section,page, click the "Customers" button located in the left-hand menu.

Explaining the Features of the Customers Page
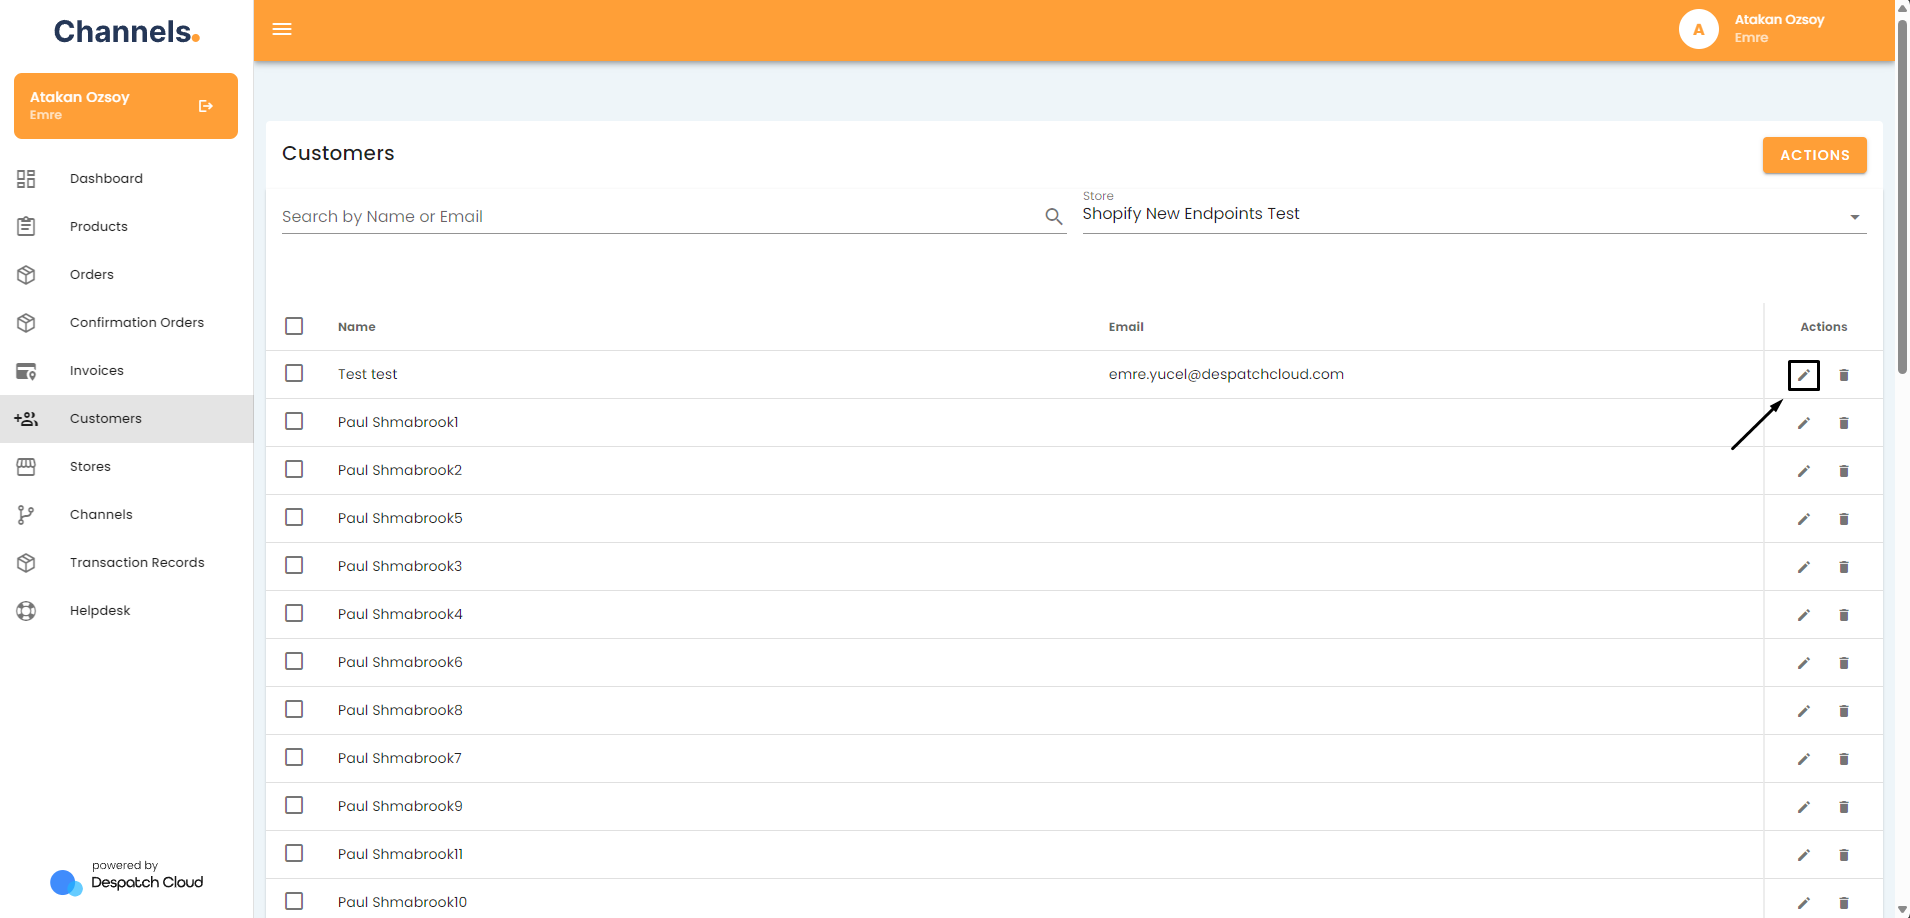
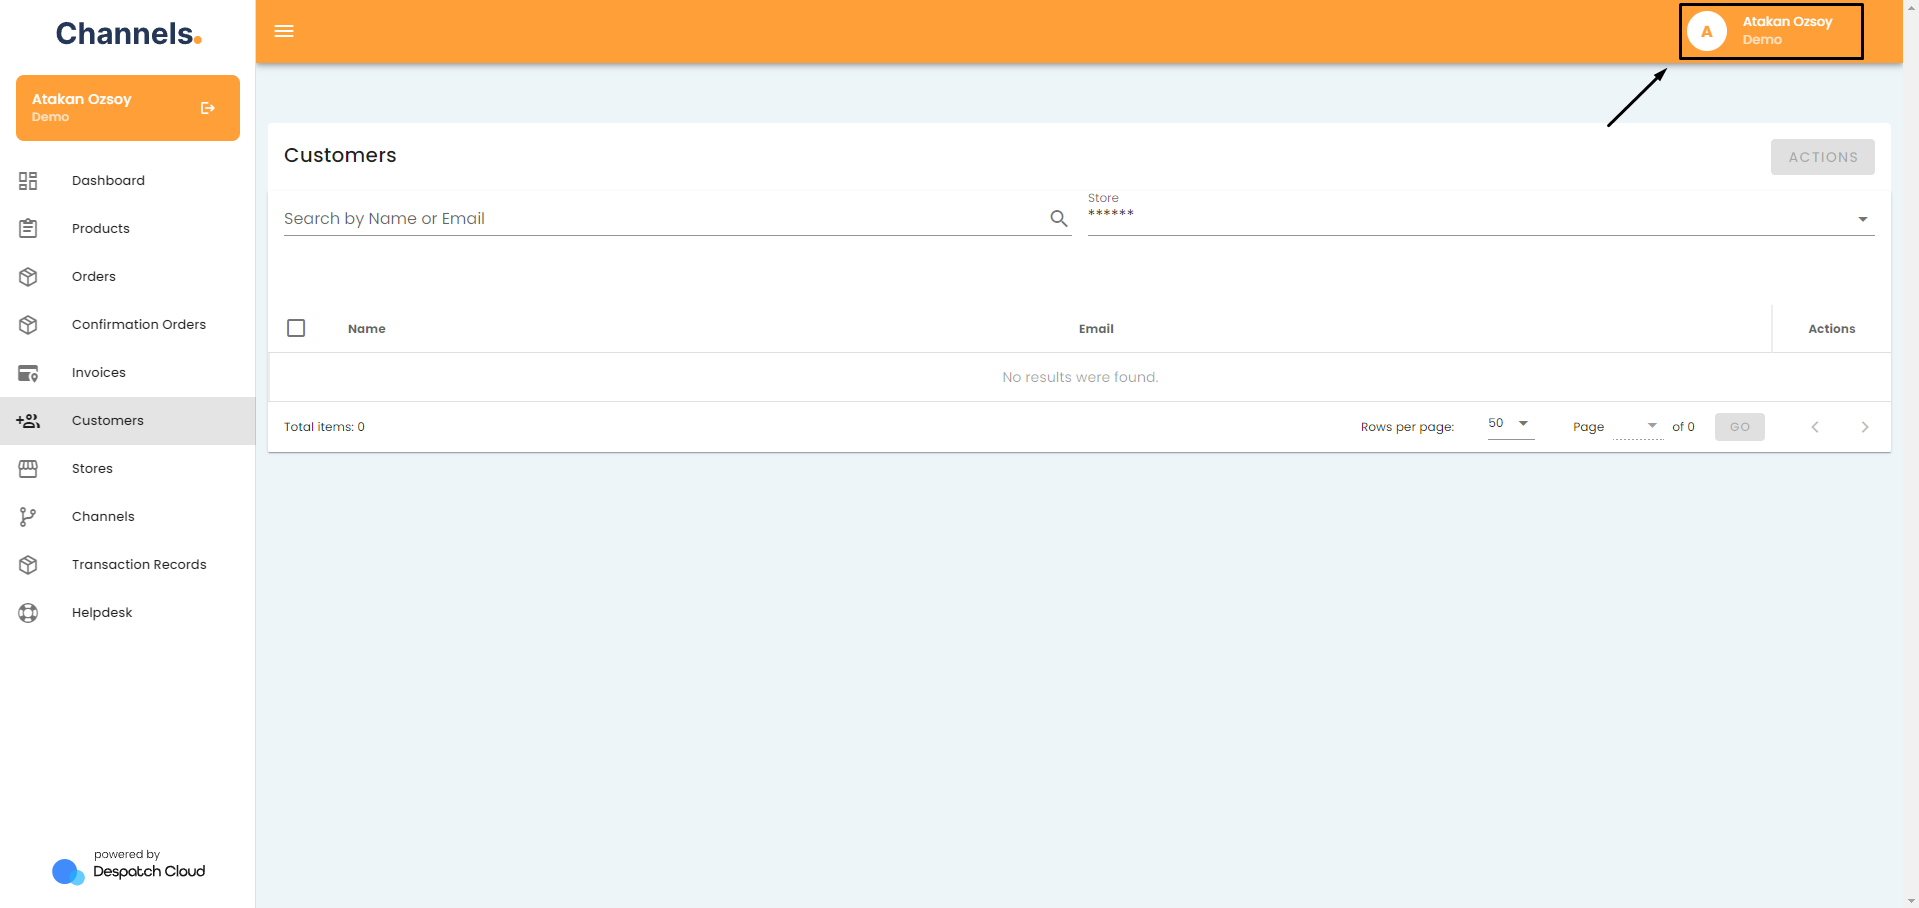
For every order created through a store, customer information will be automatically generated on this platform. To get started, begin by selecting a specific store from the top-right corner of the page. Once you've made your username,selection, all the customers associated with that store will be listed below.

You can use the search and filtering options located on the top-left side of the screen to manage your customers more effectively. This feature allows you to search and filter customers based on their names and email addresses.
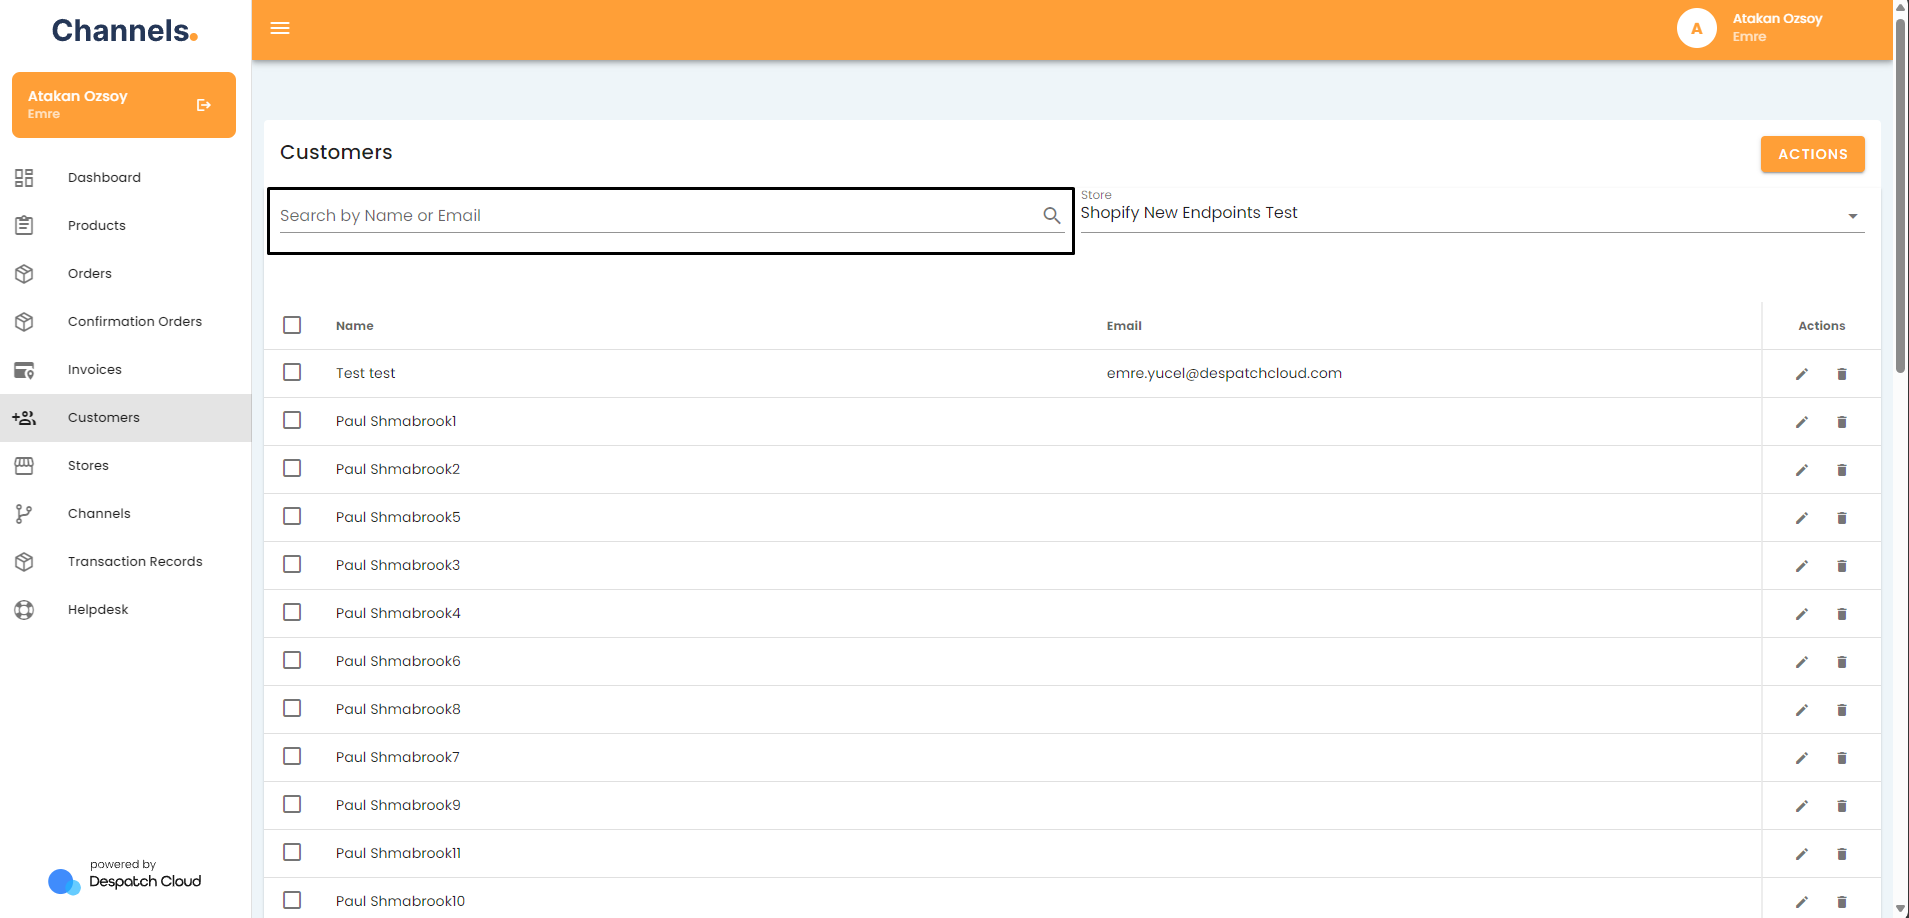
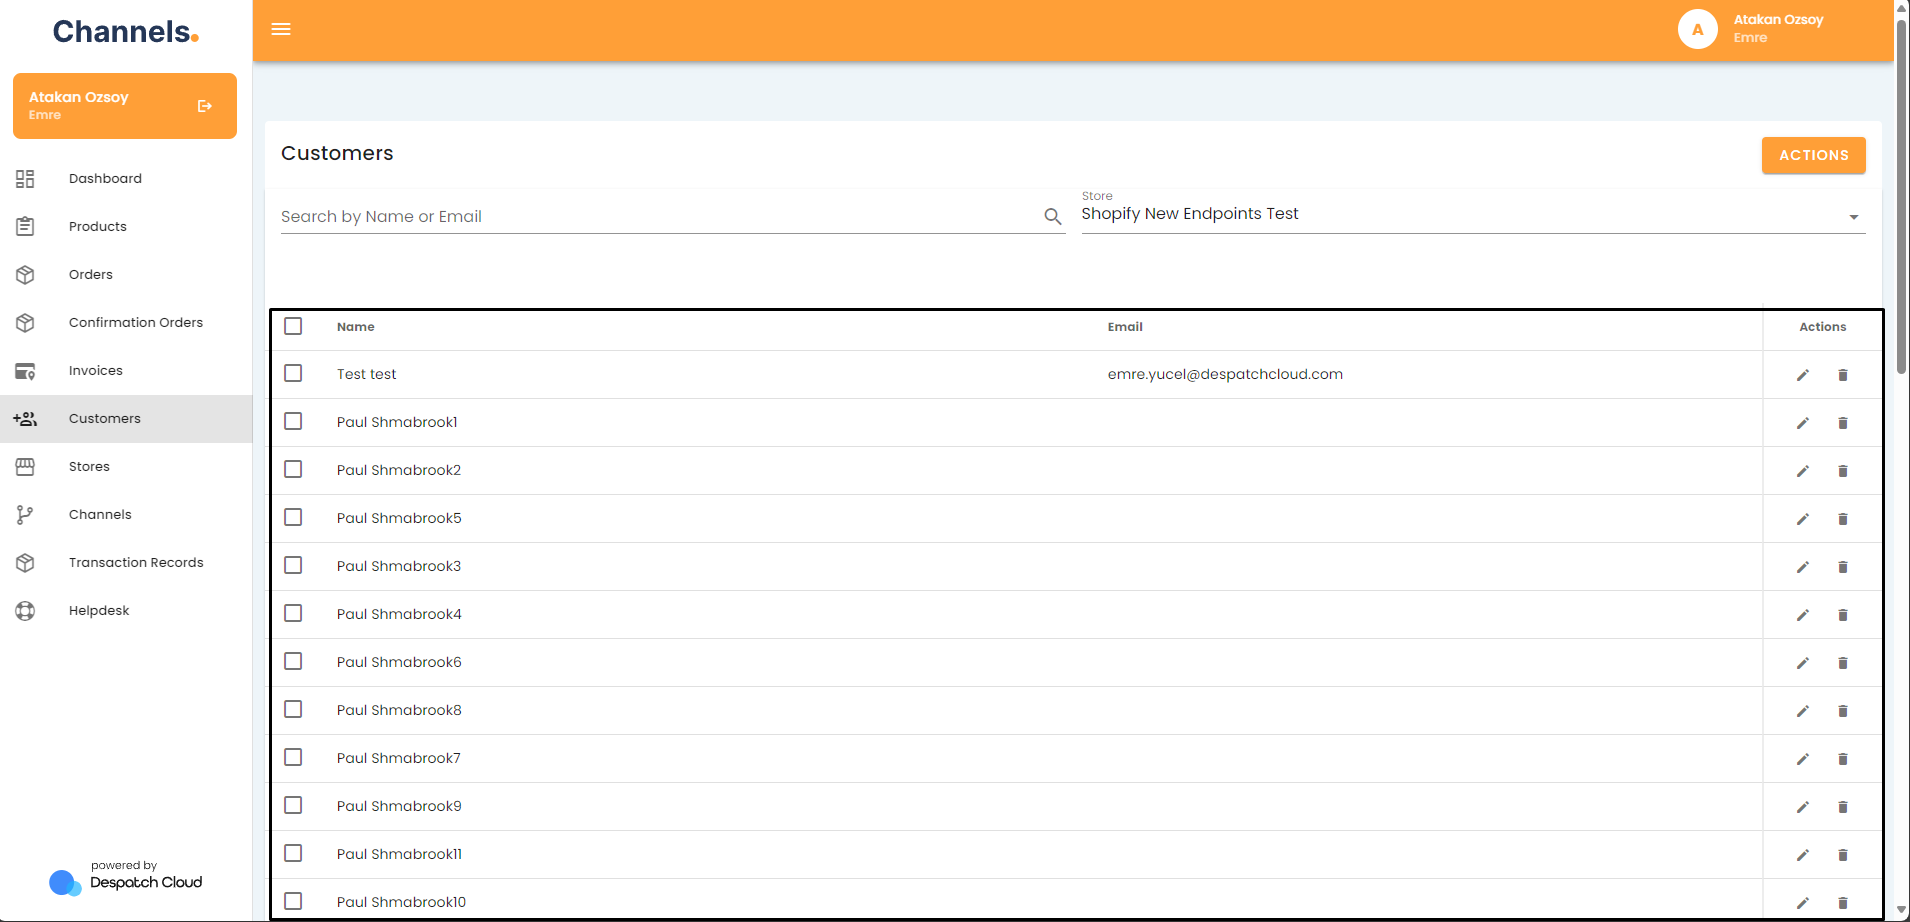
Directly below, you'll find the names and email addresses of the customers.
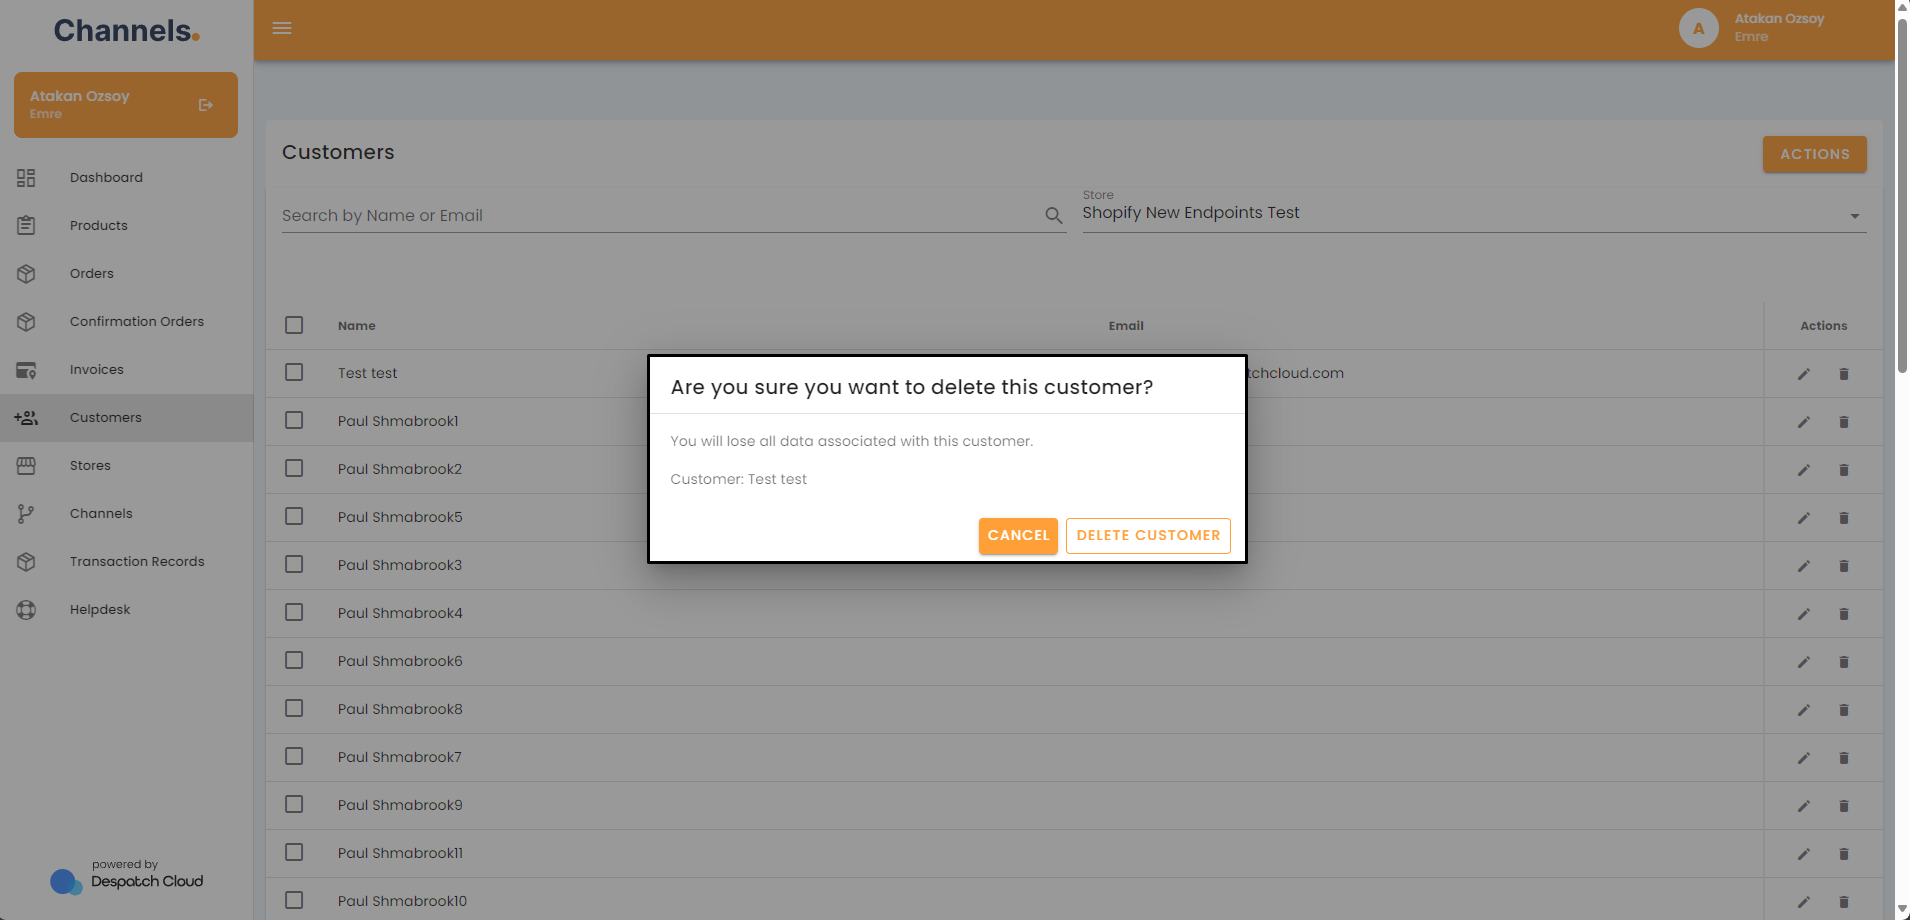
If you wish to delete a customer record, click on the trash bin icon.

You will be prompted with a confirmation screen.
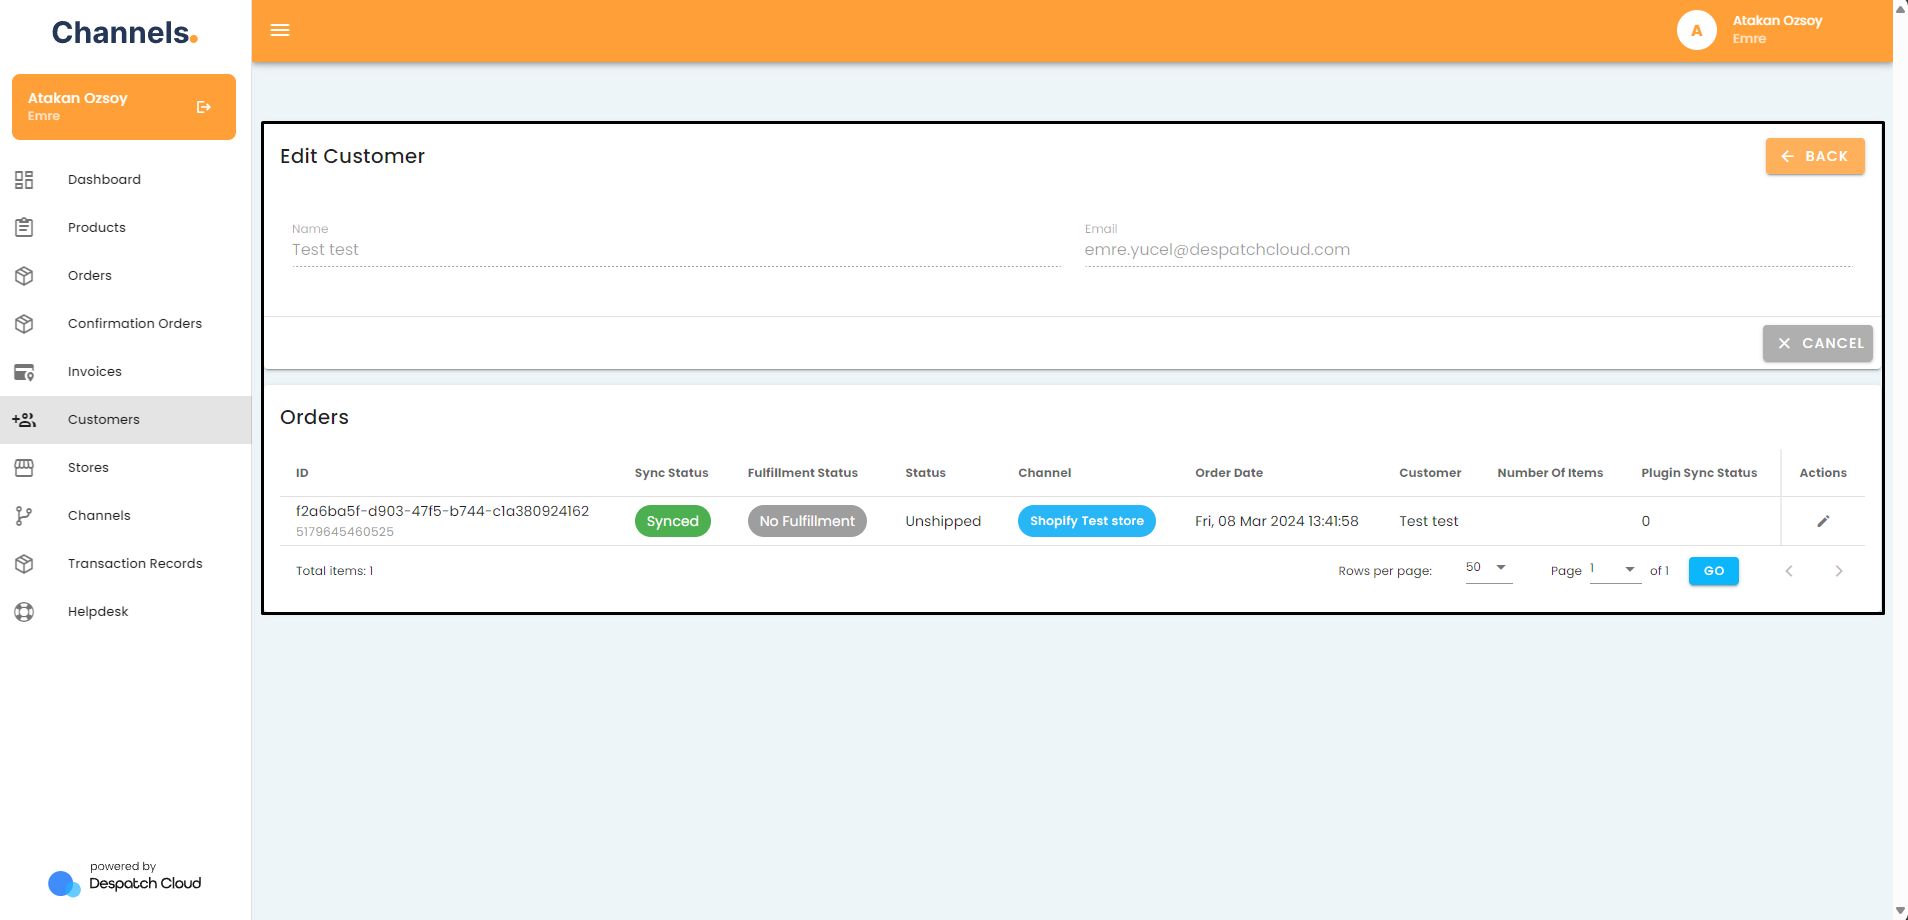
On the other hand, clicking the edit icon for individual customer entries will navigate you to the detailed customer information page.
Here, you can find comprehensive customer details, including a breakdown of the orders linked to this customer. This section also displays channel information, specifying the platform from which the order originated. You'll have access to order-specific details, such as the number of items, order status, order date, synchronisation status, and fulfillment status.
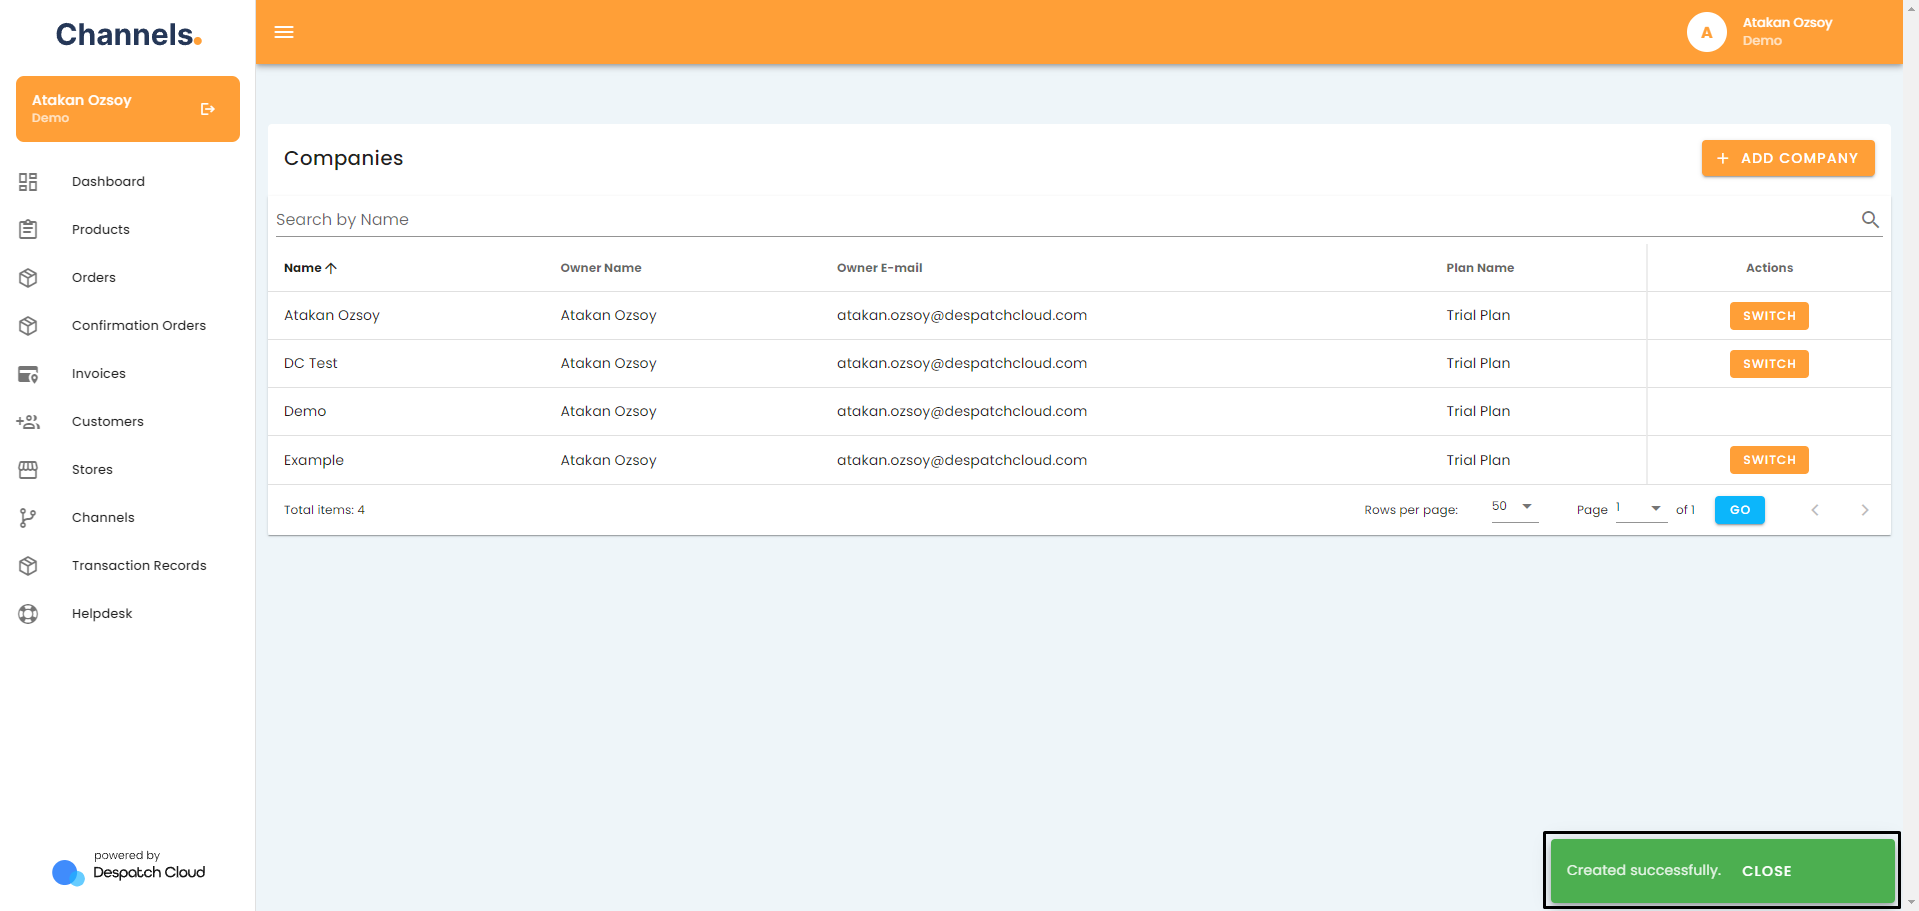
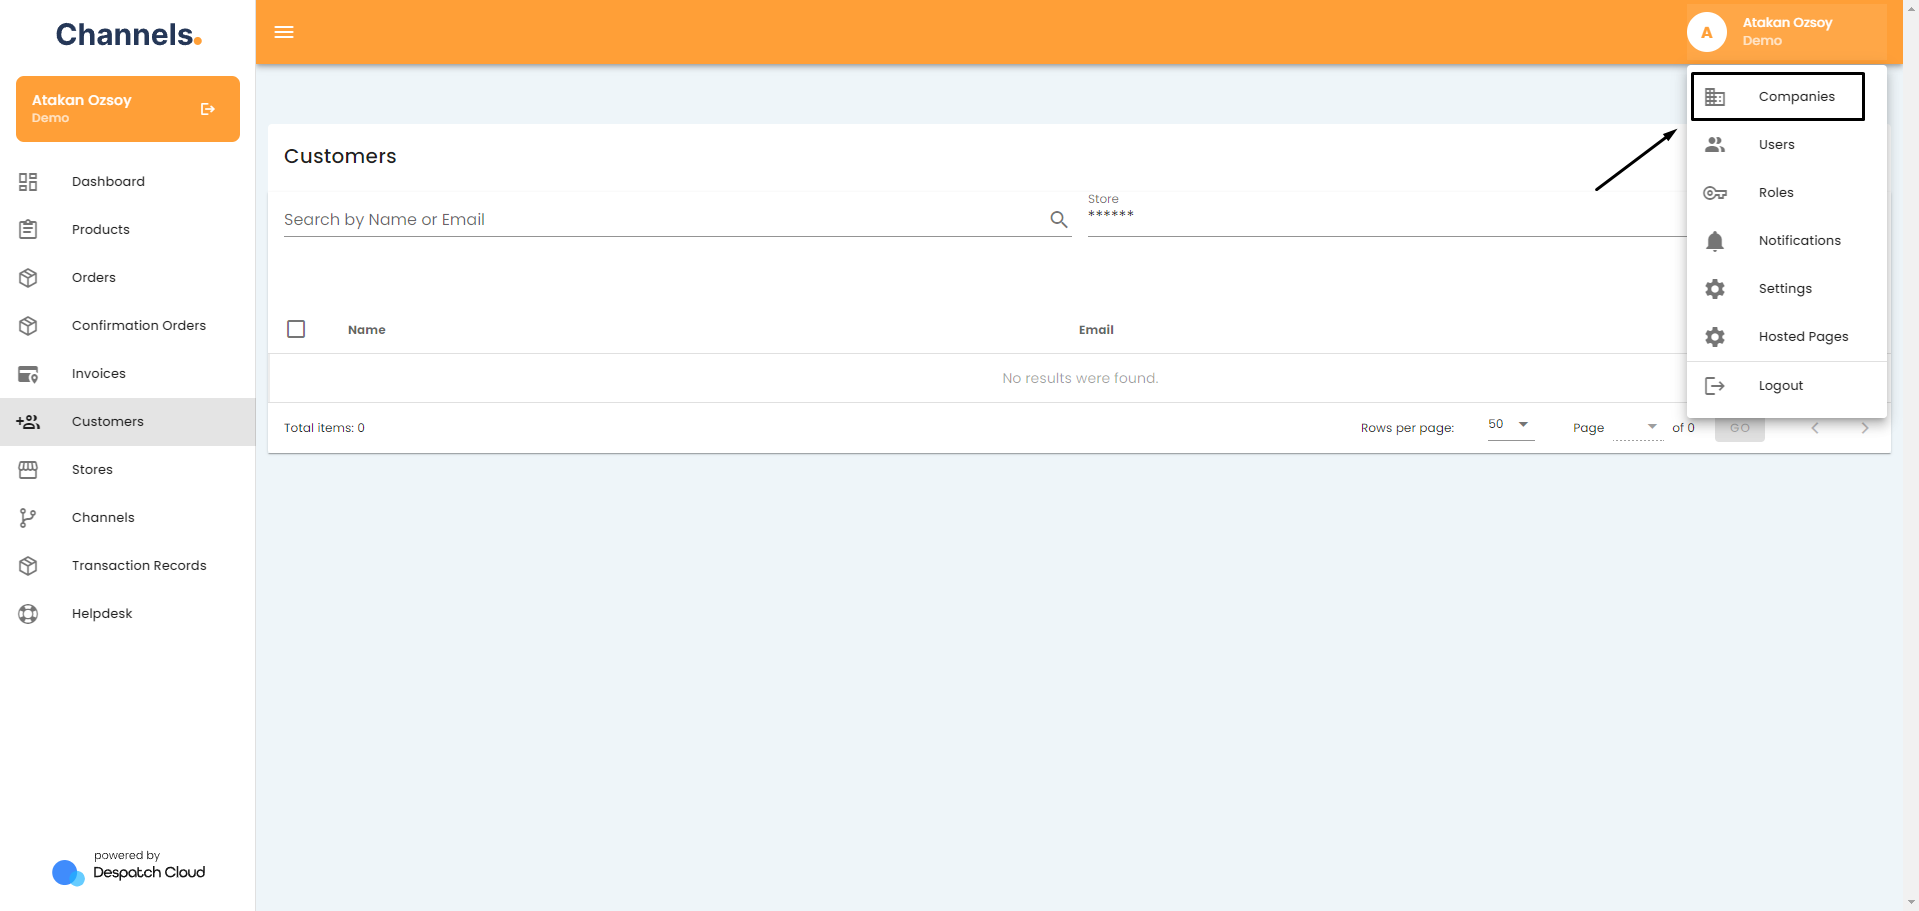
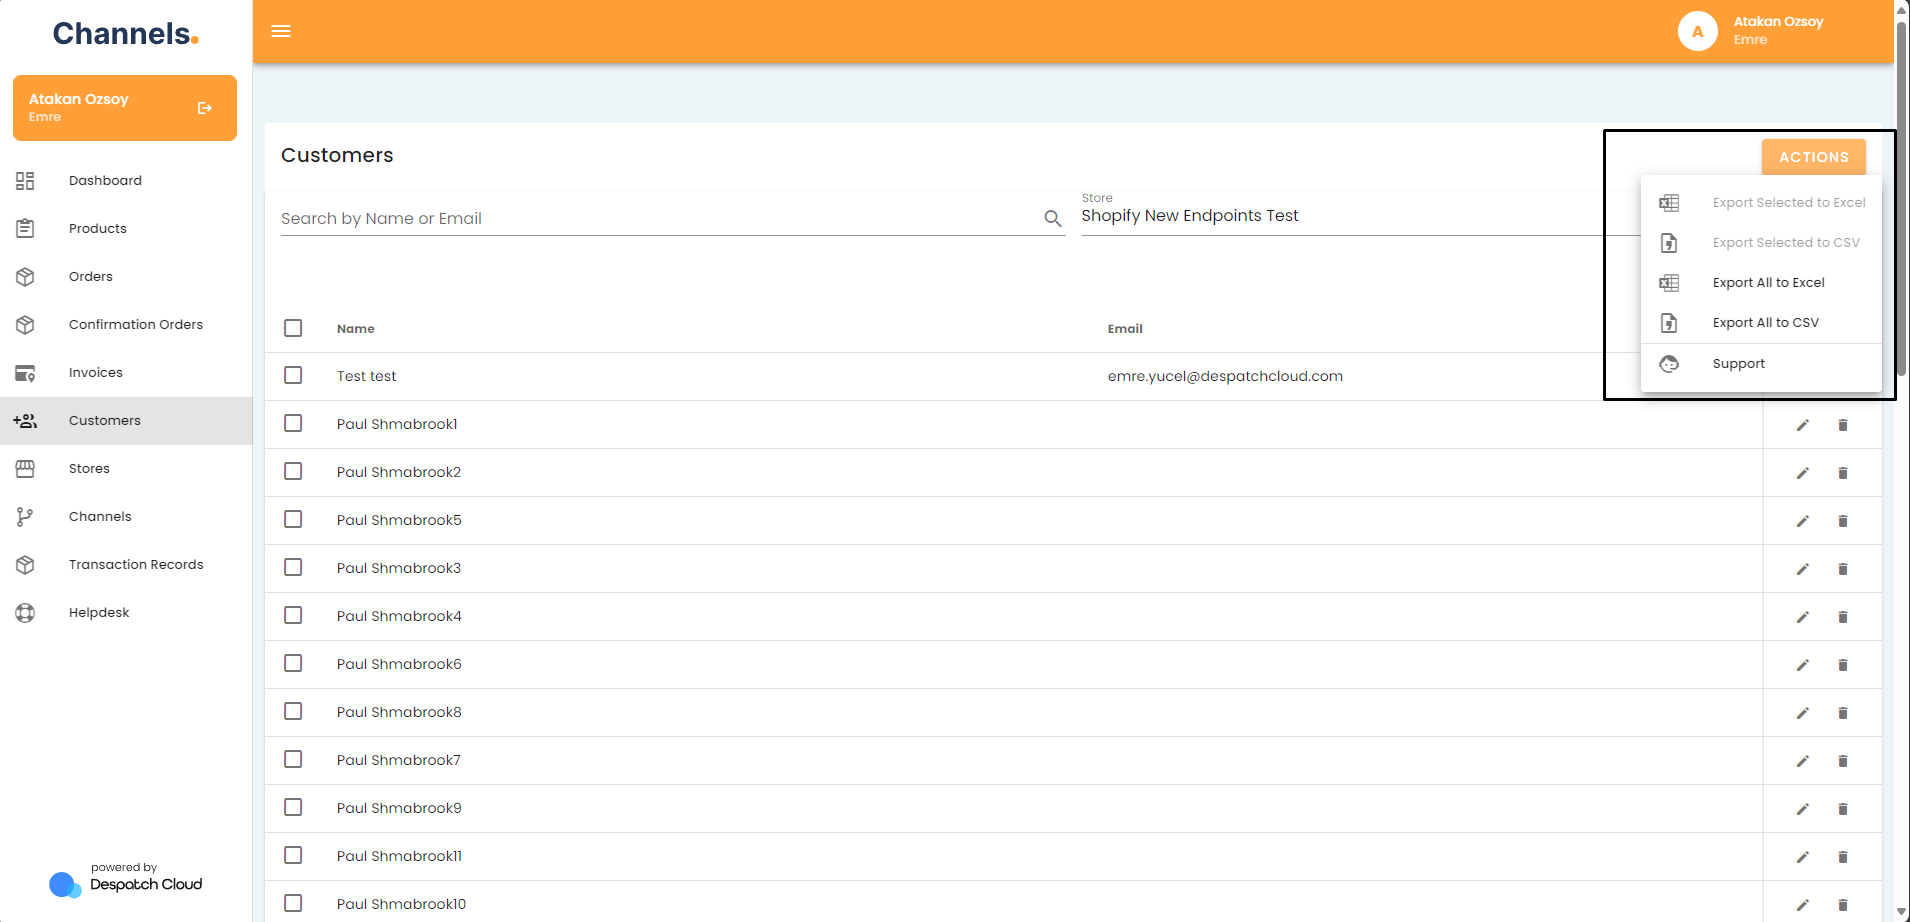
Located in the upper top-right corner.
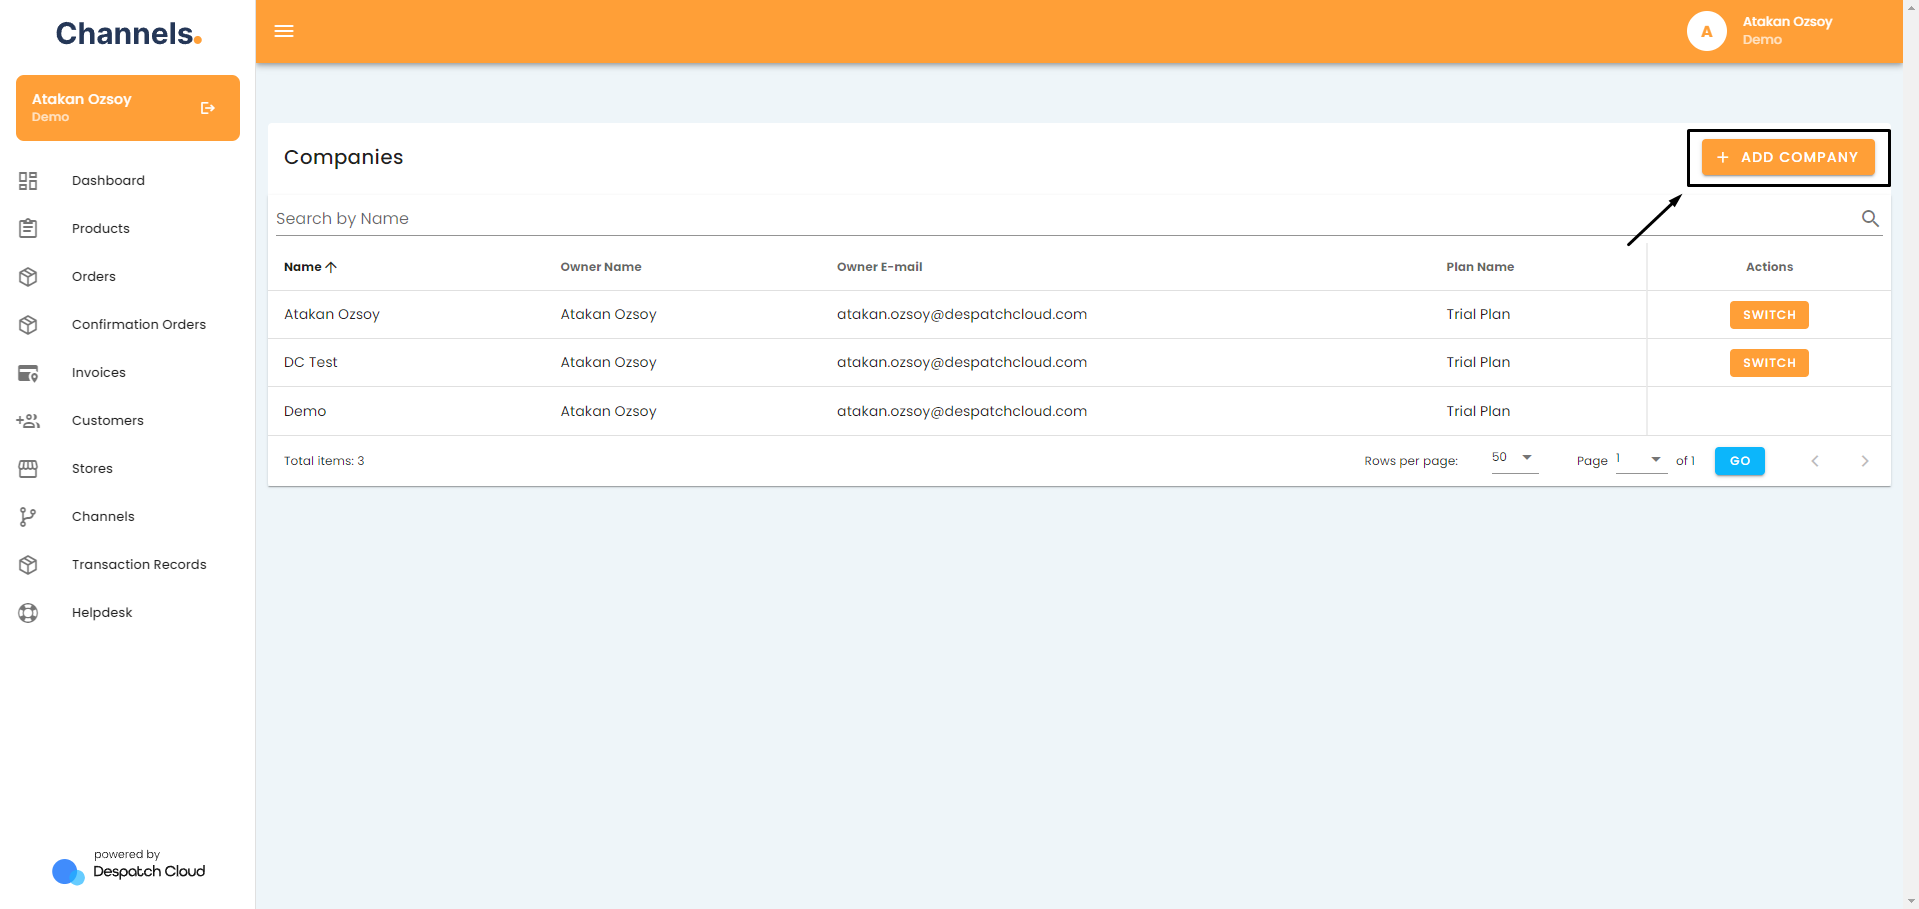
Then, fromof the ensuingpage menu,is choosethe "Companies."
OnceClicking you'vethis beenbutton directedwill trigger a dropdown menu. Here, you can select the option to export either selected or all customer data for the companieschosen page,store in either Excel or CSV format. After making your selection, the system will notify you that the export is in progress, and you will findreceive a comprehensivedownload listlink of allvia your registeredprovided companies,email eachaddress. accompaniedYou can also reach our customer support staff by a "Switch" button. Click this button to switch betweenclicking the variousSupport companies configured within your account.button.
Creating New Companies
To initiate the process, select the "+ Add Company" option located in the upper right corner.
This action will trigger the appearance of a popup screen, prompting you to designate a name for your new company.
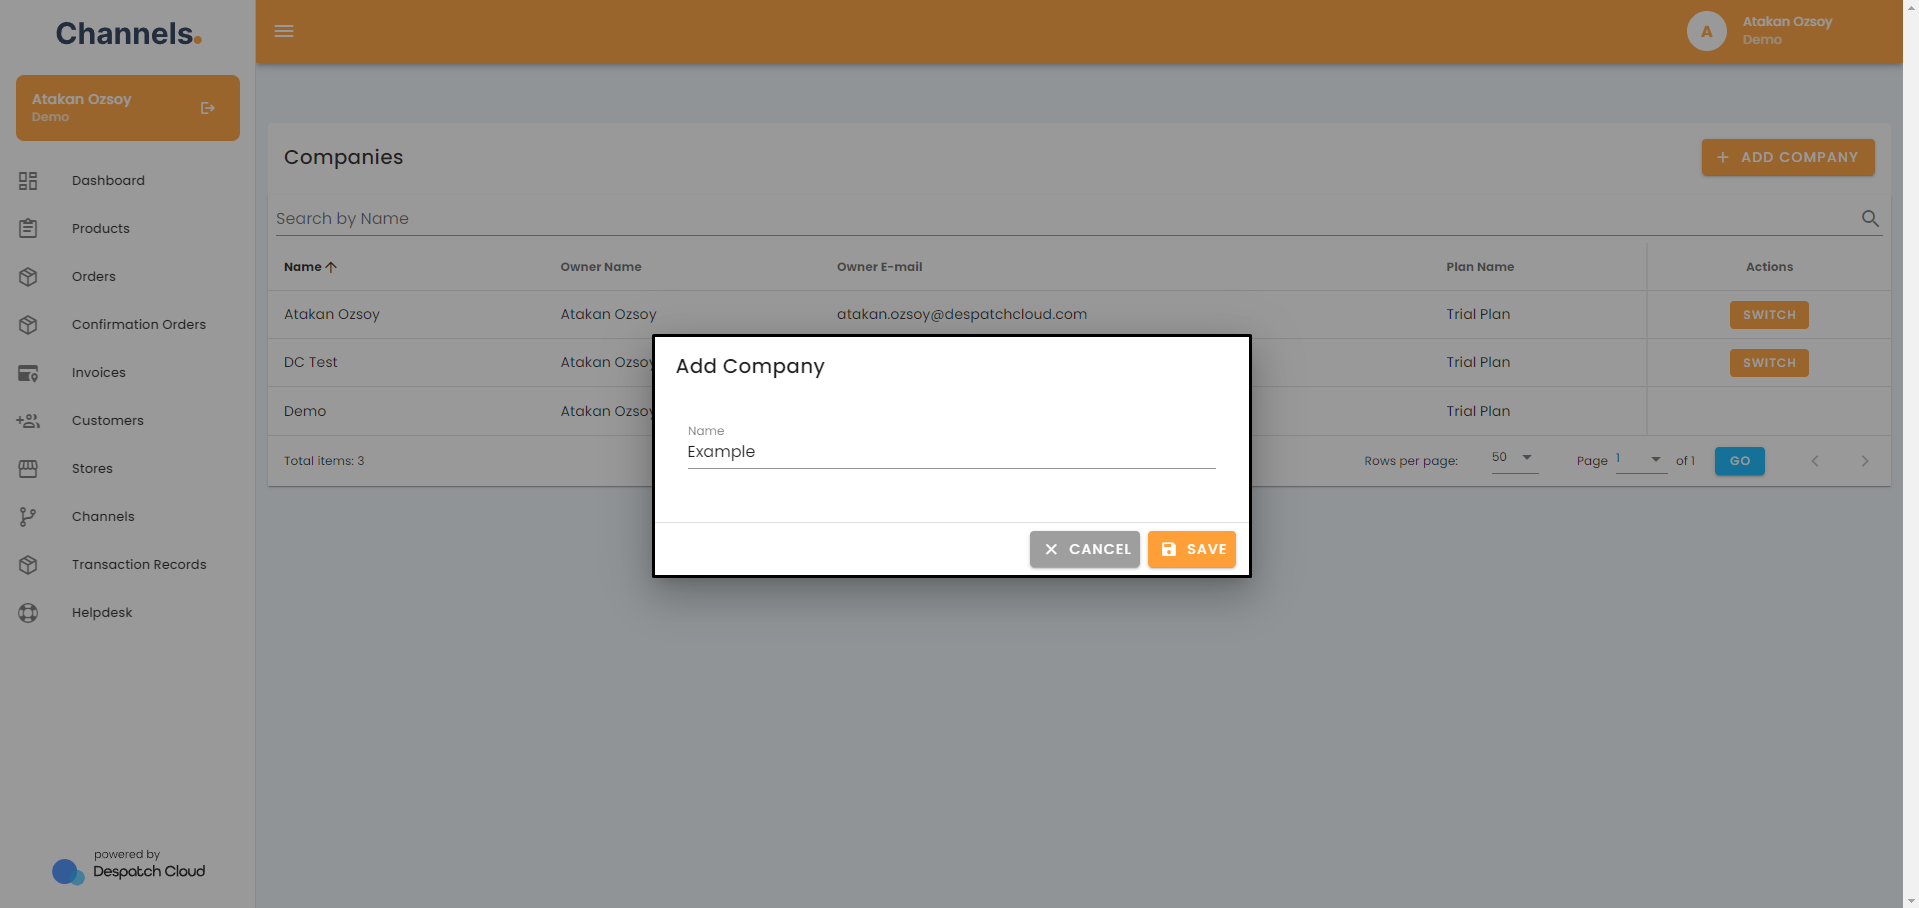
After entering the desired name and clicking "Save," your newly created company will promptly appear in the list of companies. A confirmation message will then be displayed in the bottom right corner, confirming the successful creation of your company.